I'm currently writing this as a bit of a vent. I typically use Ollama models, but I discovered someone's post on X (formerly Twitter) about a Microsoft model that supposedly runs well on CPU alone, with even better performance on systems like the M2 chip.
Microsoft just a 1-bit LLM with 2B parameters that can run on CPUs like Apple M2.
— Shubham Saboo (@Saboo_Shubham_) April 18, 2025
BitNet b1.58 2B4T outperforms fp LLaMA 3.2 1B while using only 0.4GB memory versus 2GB and processes tokens 40% faster.
100% opensource. pic.twitter.com/kTeqTs6PHd
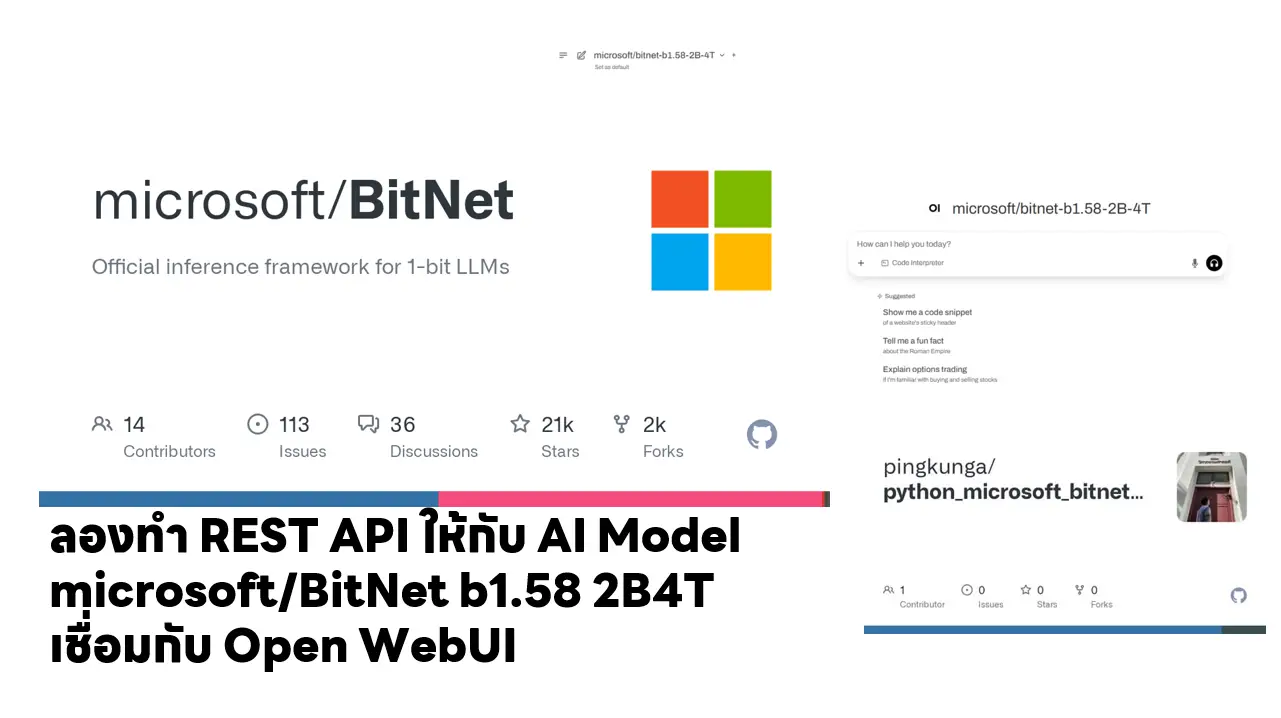
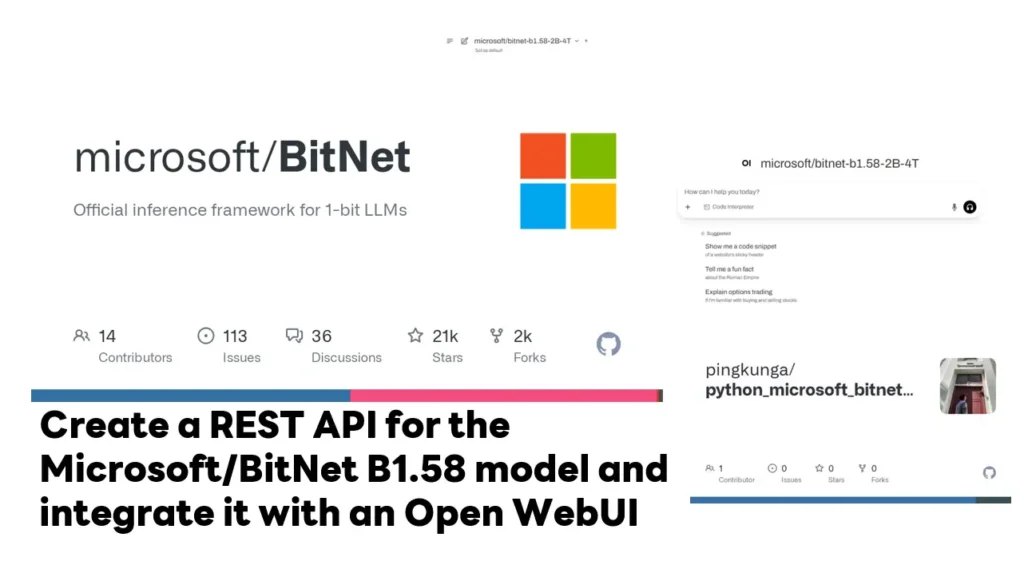
And that model is microsoft/BitNet b1.58 2B4T. After seeing the news in APR-2025, I waited to see if anyone would try to implement it in Ollama. I saw people asking about it too, but there was still no update.
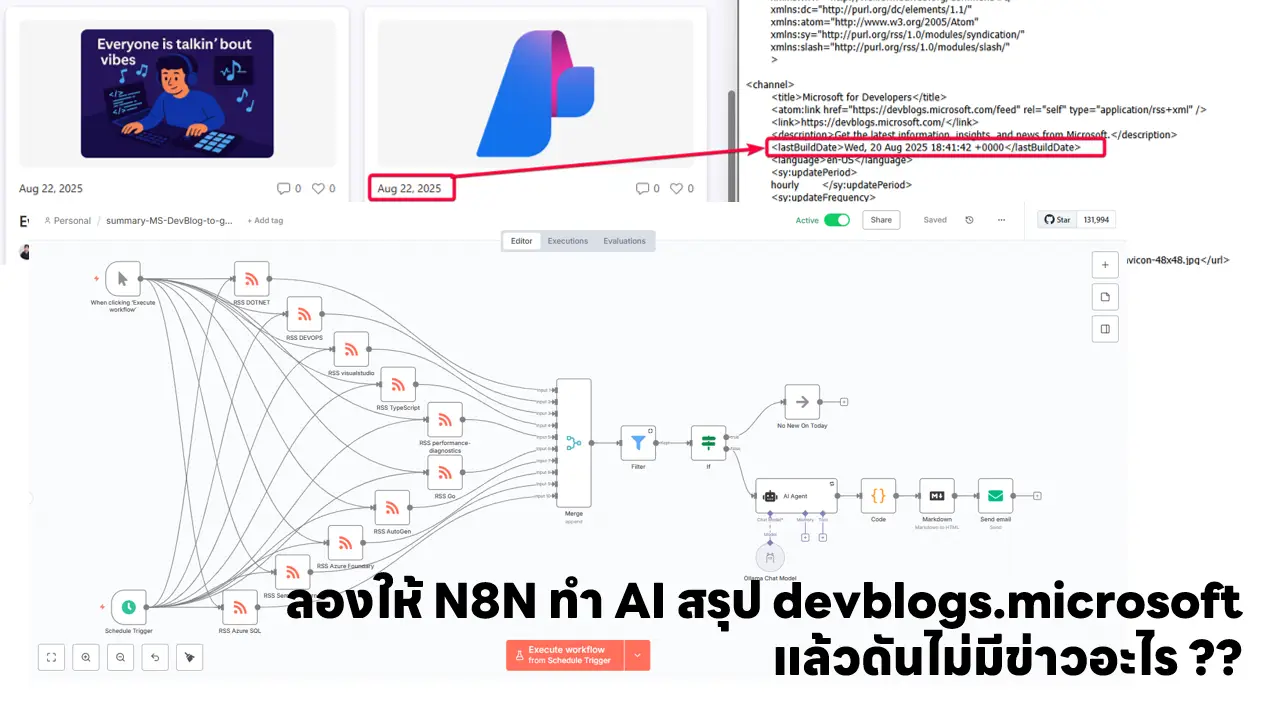
I waited for a long time until June-2025 and still nothing. Oh well, let me find a way to run it myself from the code then. Initially, I set a simple goal: put the model in a container and find something that can create an endpoint to work with Open WebUI (a web interface for chatting like ChatGPT), So This blog is to document the my experience for this experiment.
If you want to read Thai Version (อ่านได้ที่นี่)
Table of Contents
Getting Ready to Run microsoft/BitNet
- Linux: (I actually tried this in Docker)
I take a Python image and install lib for Development
# Use official Python 3.12 image
FROM python:3.12-slim

# Install system dependencies for PyTorch and build tools
RUN apt-get update && \
    apt-get install -y --no-install-recommends \
        build-essential \
        cmake \
        git \
        curl \
        ca-certificates \
        libopenblas-dev \
        libomp-dev \
        libssl-dev \
        libffi-dev \
        wget \
        && rm -rf /var/lib/apt/lists/*

# (Optional) Set a working directory
WORKDIR /app

# Copy your requirements.txt if you have one
COPY requirements.txt .
RUN pip install --upgrade pip && pip install -r requirements.txt
create a requirements.txt file.
fastapi==0.110.2
uvicorn[standard]==0.29.0
transformers==4.52.4
torch==2.7.0
numpy==1.26.4
accelerate==0.29.0
Run it normally (standard execution)
# Build the image
docker build -t python-bitNet .

# Run the container with port forwarding and mounting your code
docker run -it -p 8888:8888 -v "$PWD":/app python-bitNet /bin/bash
Use DevContainer (I try this method)
- Windows: This one has quite a few steps, for those who like challenges
I say it's challenging because I tried it and got stuck for 2 weeks lol. On Linux, it's done in a flash. For anyone who wants to try, you need to have the following
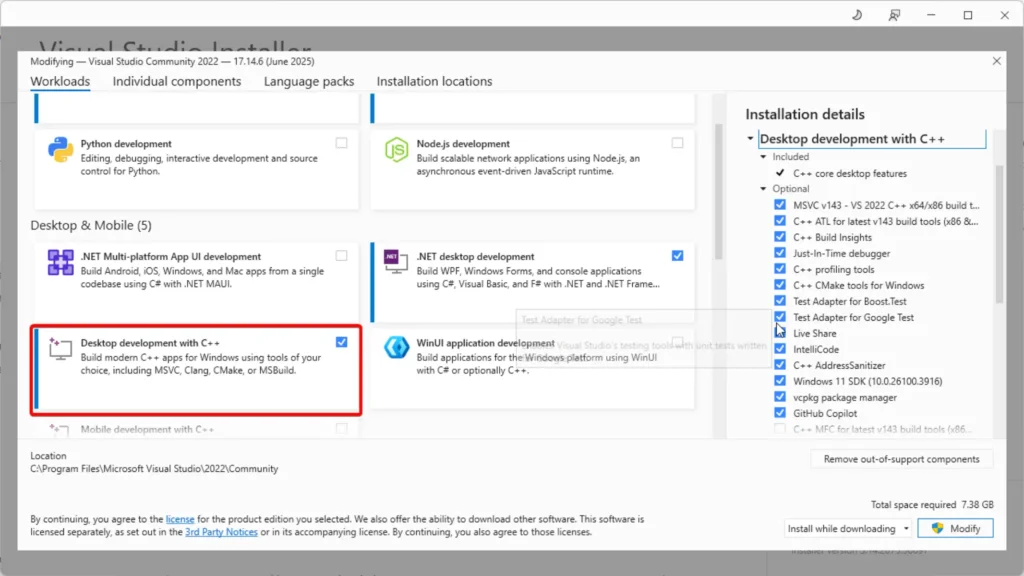
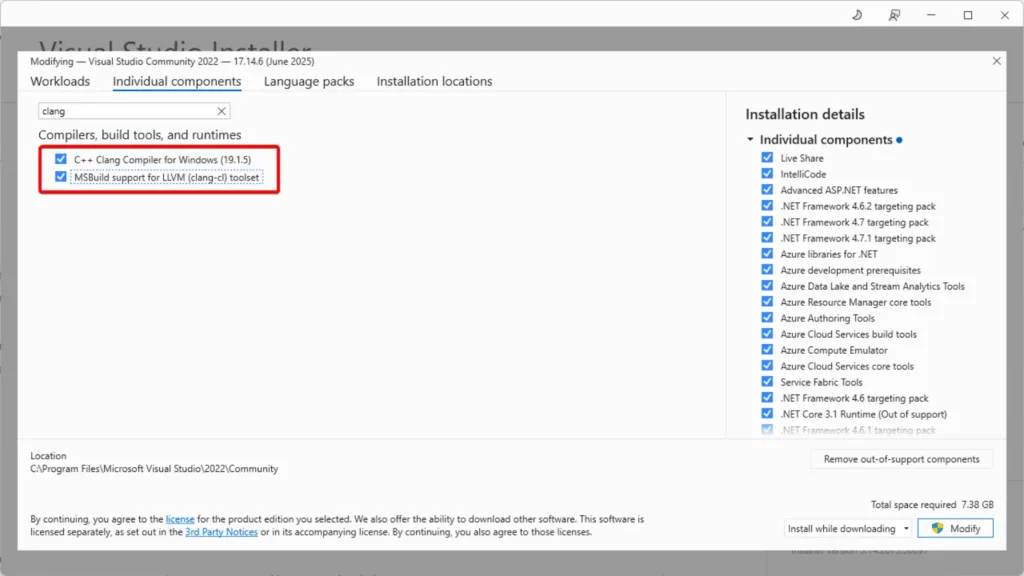
- For Visual Studio, you need to install additional C++ components as follows:
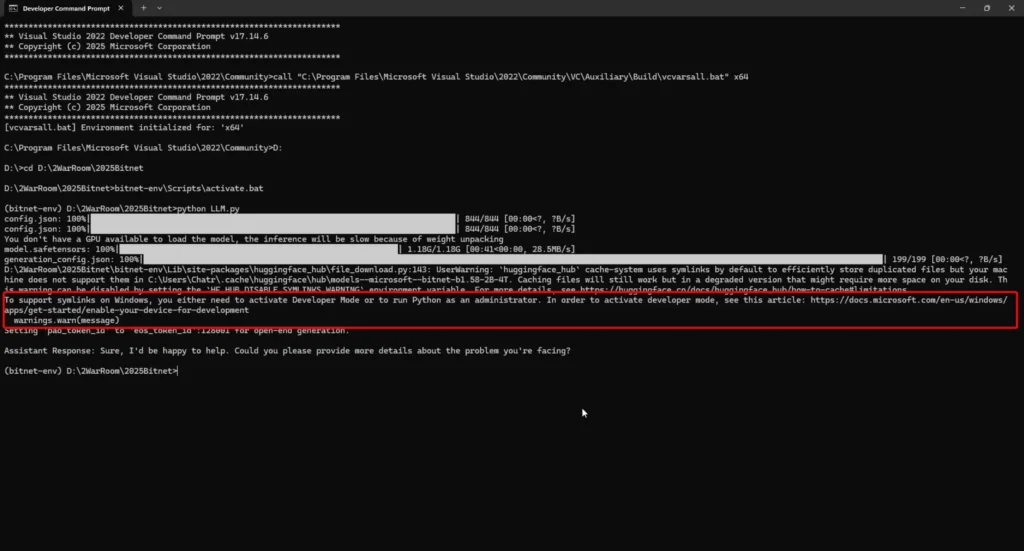
- Running PowerShell won't work - you have to run it in Developer Command Prompt for VS 2022 or Developer PowerShell for VS 2022.
The regular Terminal doesn't set all the variables like Path properly, so you'll encounter errors like
Error C1083: Cannot open include file: 'algorithm': No such file or directory
Even though you try to set vcvarsall.bat x64, it's like hit or miss - sometimes it works, sometimes it doesn't.
Note: vcvarsall.bat is located in "C:\Program Files\Microsoft Visual Studio\2022\Community\VC\Auxiliary\Build\vcvarsall.bat"
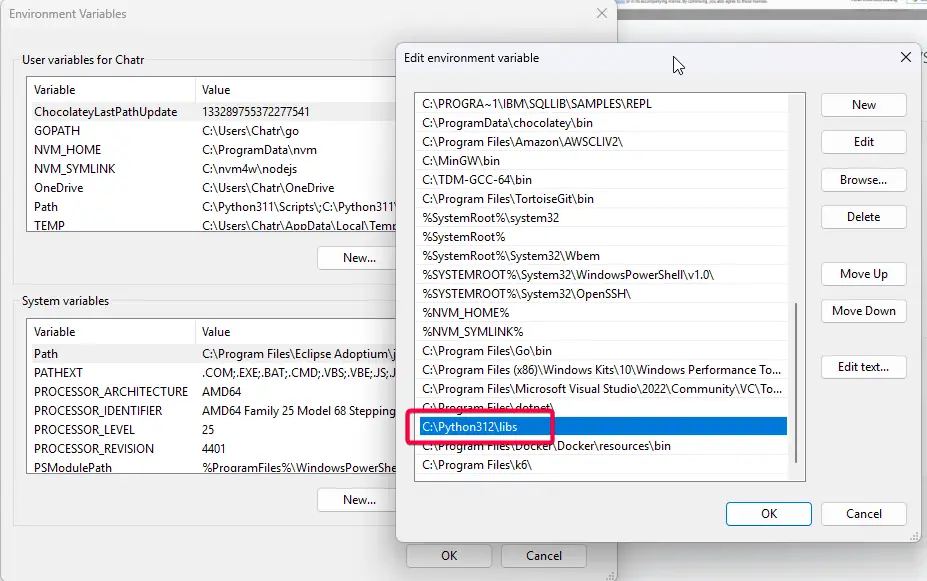
- Set python lib .tlb in path > if you don't include it, it will crash
fatal error LNK1104: cannot open file 'python312.lib'
And after the environment is ready
- Let set Virtual environment
# Set ENV
python3 -m venv bitnet-env
# or
python -m venv bitnet-env
- Activate Virtual environment
# Linux
source bitnet-env/bin/activate

# Windows - Powershell
.\bitnet-env\Scripts\Activate.ps1
# Windows - CMD
.\bitnet-env\Scripts\activate.bat
- Install required libraries according to requirements.txt - if you're using the Linux/Docker approach, these dependencies are already included in the Container image.
fastapi==0.110.2
uvicorn[standard]==0.29.0
transformers==4.52.4
torch==2.7.0
numpy==1.26.4
accelerate==0.29.0
pip install --upgrade pip && pip install -r requirements.txt

pip install git+https://github.com/huggingface/transformers.git@096f25ae1f501a084d8ff2dcaf25fbc2bd60eba4
Writing Code to Use Model from Hugging Face
After resolving all the ENV issues, let's Coding, I mentioned wanting to connect it with OpenWebUI, so I made 2 versions Command Line version / API version
- Command Line
Try writing code using
- Transformers: For loading pre-trained models from Hugging Face
- PyTorch: For model inference from transformers (at this point, the my machine specs that only use inference but not good for Train/Fine Tune) The points where PyTorch is used in several parts, such as
- bfloat16: Uses less memory than FP16 but with less precision
- return_tensors="pt": Specifies PyTorch tensor format
- to(model.device): Enables GPU acceleration if CUDA is available
import torch
from transformers import AutoModelForCausalLM, AutoTokenizer

model_id = "microsoft/bitnet-b1.58-2B-4T"
# Load tokenizer and model
tokenizer = AutoTokenizer.from_pretrained(model_id)
model = AutoModelForCausalLM.from_pretrained(
    model_id,
    torch_dtype=torch.bfloat16,
    force_download=True,
)

# Apply the chat template + Role
messages = [
    {"role": "system", "content": "You are a Senior Programmer."},
    {"role": "user", "content": "Can you help me with a coding problem?"},
]

prompt = tokenizer.apply_chat_template(messages, tokenize=False, add_generation_prompt=True)
chat_input = tokenizer(prompt, return_tensors="pt").to(model.device)

# Generate response
chat_outputs = model.generate(**chat_input, max_new_tokens=50)
response = tokenizer.decode(chat_outputs[0][chat_input['input_ids'].shape[-1]:], skip_special_tokens=True)
print("\nAssistant Response:", response)
Another version actually adds a loop and keeps asking continuously until you type "Thank you BITNET" - you can see source code here
- API
Note: I didn't research what libraries are available that can make our API directly connect to Open WebUI. Initially
I tried to see what connection standards Open WebUI supports first - for the Text Prompt part, it has OpenAI / Ollama sections.
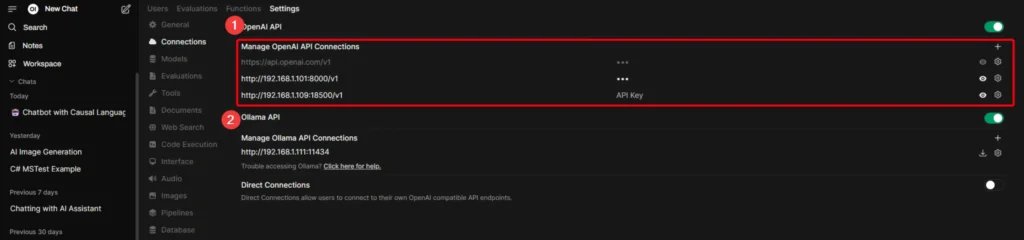
Now I chose to go with OpenAI API because when I tried playing with dotnet semantic kernel before, it has the /v1/chat/completions pattern, so I tried starting from there and tried adding it in WebUI to see what paths it hits in our code.
From what I tested, I found there are 3 API endpoints at minimum that Open WebUI calls to us:
- /v1/chat/completions
- /v1/models
- /health
For /v1/chat/completions, I just kept adding based on what it complained about + asked AI until I completed all 3 APIs like this.
import datetime
import time
import uuid
from fastapi import FastAPI, Request
from fastapi.responses import JSONResponse
from pydantic import BaseModel
from typing import List, Dict, Optional
import torch
import uuid
from datetime import datetime
from transformers import AutoModelForCausalLM, AutoTokenizer

app = FastAPI()

# Load model and tokenizer at startup
model_id = "microsoft/bitnet-b1.58-2B-4T"

tokenizer = AutoTokenizer.from_pretrained(model_id)
model = AutoModelForCausalLM.from_pretrained(
    model_id,
    torch_dtype=torch.bfloat16,
    force_download=True,
)
device = "cuda" if torch.cuda.is_available() else "cpu"
model = model.to(device)

class Message(BaseModel):
    role: str
    content: str

class ChatRequest(BaseModel):
    messages: List[Message]
    max_new_tokens: Optional[int] = 700

class Choice(BaseModel):
    index: int
    message: Dict[str, str]
    finish_reason: str

class ChatResponse(BaseModel):
    id: str
    object: str
    created: int
    model: str
    choices: List[Choice]

@app.post("/v1/chat/completions", response_model=ChatResponse)
async def chat_completions(request: ChatRequest):
    # Prepare prompt using chat template
    prompt = tokenizer.apply_chat_template(
        [msg.dict() for msg in request.messages],
        tokenize=False,
        add_generation_prompt=True
    )
    chat_input = tokenizer(prompt, return_tensors="pt").to(model.device)
    chat_outputs = model.generate(**chat_input, max_new_tokens=request.max_new_tokens)
    response = tokenizer.decode(
        chat_outputs[0][chat_input['input_ids'].shape[-1]:],
        skip_special_tokens=True
    )
    # Return response in OpenAI-compatible format
    # return JSONResponse({
    #     "id": f"chatcmpl-{uuid.uuid4().hex[:12]}",
    #     "object": "chat.completion",
    #     "created": int(time.time()),
    #     "model": model_id,
    #     "choices": [
    #         {
    #             "index": 0,
    #             "message": {
    #                 "role": "assistant",
    #                 "content": response
    #             },
    #             "finish_reason": "stop"
    #         }
    #     ]
    # })
    return ChatResponse(
        id=f"chatcmpl-{uuid.uuid4().hex[:12]}",
        object="chat.completion",
        created=int(time.time()),
        model=model_id,
        choices=[
            Choice(
                index=0,
                message={"role": "assistant", "content": response},
                finish_reason="stop"
            )
        ]
    )

@app.get("/")
def root():
    """Root endpoint with API info"""
    return JSONResponse({
        "message": "OpenAI-Compatible API for Open WebUI",
        "version": "1.0.0",
        "endpoints": {
            "models": "/v1/models",
            "chat": "/v1/chat/completions",
            "health": "/health"
        }
    })

@app.get("/health")
def health_check():
    """Health check endpoint"""
    return JSONResponse({"status": "healthy", "timestamp": datetime.now().isoformat()})

@app.get("/v1/models")
def list_models():
    """List available models"""
    return JSONResponse({
        "data": [
            {
                "id": model_id,
                "object": "model",
                "created": datetime.now().isoformat(),
                "owned_by": "microsoft",
                "permission": []
            }
        ]
    })
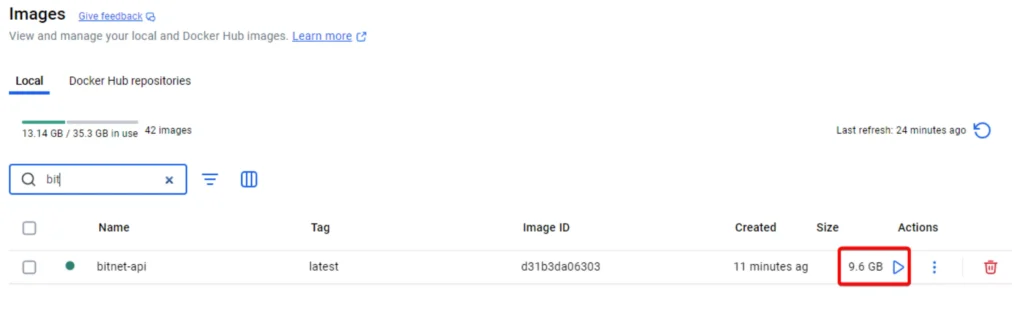
When using it, I made it into Docker. During build, I was shocked by the size - almost 10 GB.
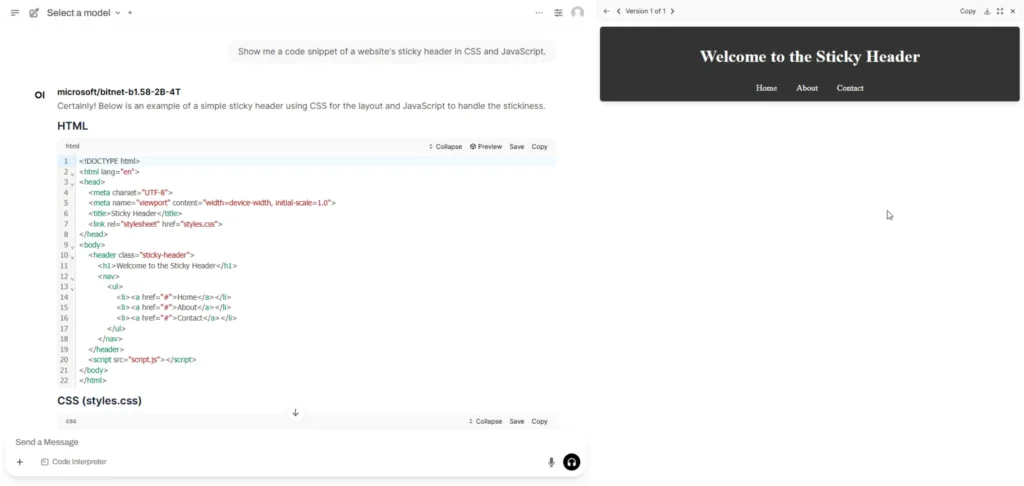
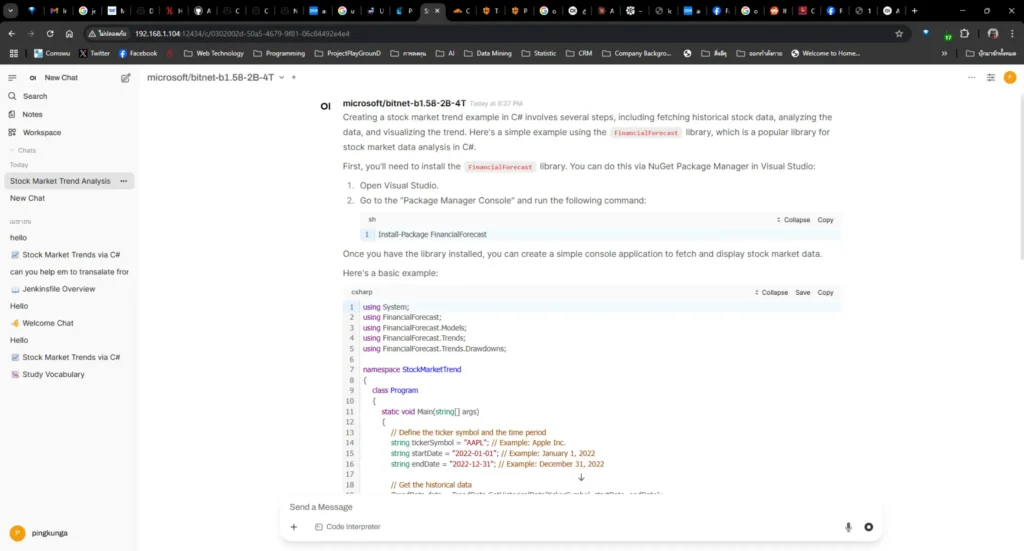
Tried using it for real and connecting it with Open WebUI - sometimes it gives okay answers, sometimes it hallucinates lol
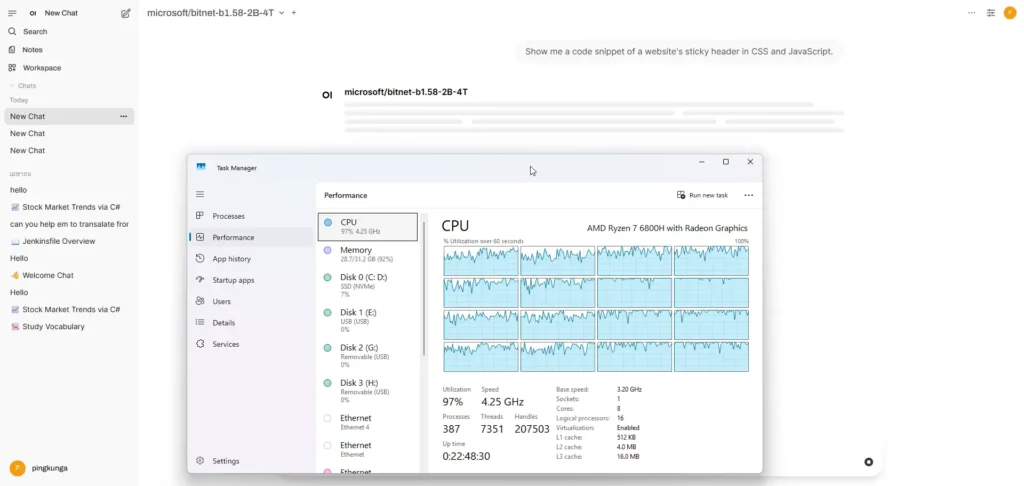
But what's for sure is the CPU usage shoots up lol
That concludes my rough trial of running the Model, and if I find something better, I'll write another blog post. Feel free to reach out with suggestions. Oh, and don't force it on Windows - mine got squeezed by WSL2. Taking an old notebook and installing Linux to make a Local AI Inference Engine is still faster.
For all the code, I've uploaded it to Git: https://github.com/pingkunga/python_microsoft_bitnet-b1.58_sample
Reference
- https://github.com/microsoft/BitNet
- https://onedollarvps.com/blogs/how-to-run-bitnet-b1-58-locally.html#platform-specific-requirements
Discover more from naiwaen@DebuggingSoft
Subscribe to get the latest posts sent to your email.