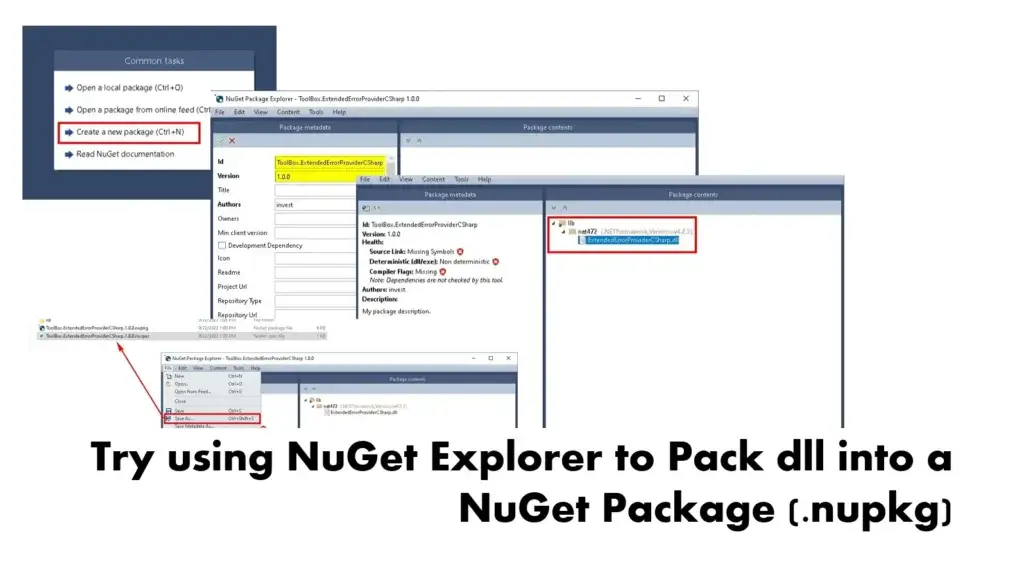
For Thai Version: ลองใช้ NuGet Explorer มา Pack dll เป็น NuGet Package (.nupkg)
I was organizing various data onto my NAS and found some screenshots I had captured but never wrote a blog post about. After reminiscing for a while, I remembered - it's a method for taking .NET DLLs that might be remnants of legacy code where the source code is lost, leaving only the DLL, and turning them into NuGet Packages. Creating NuGet Packages has several advantages:
- Easy distribution - You can upload to NuGet.org or local repositories like Nexus. No need to reference DLLs directly in projects, copy them, or put them in Source Control.
- Can specify technical requirements such as runtime or dependencies that need to be used.
For this machine, it's a GUI tool called NuGet Explorer.
Steps to Pack dll into NuGet Package (.nupkg) using NuGet Explorer
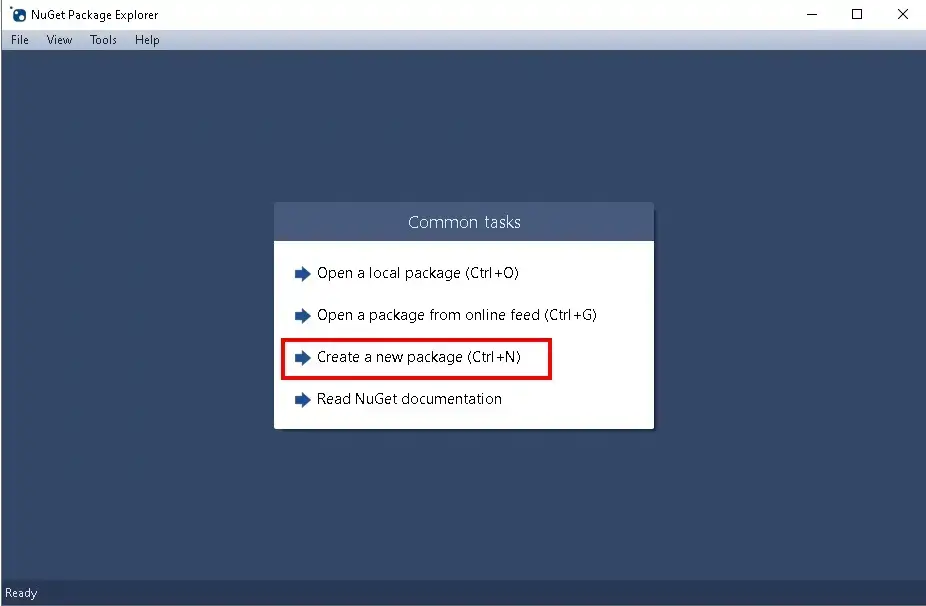
- Open NuGet Explorer and select Create a new Package.
- Click the pen icon in the top-left corner to edit Metadata.
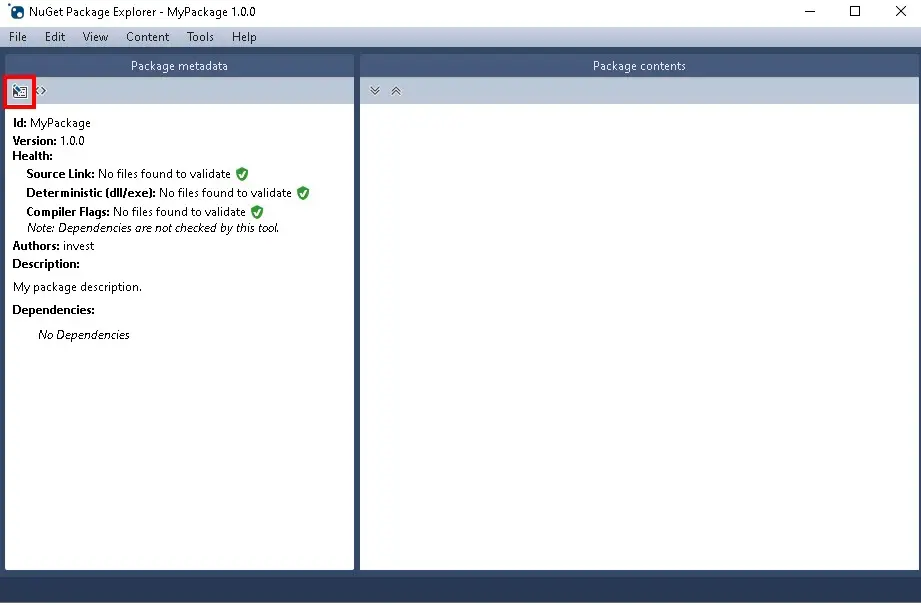
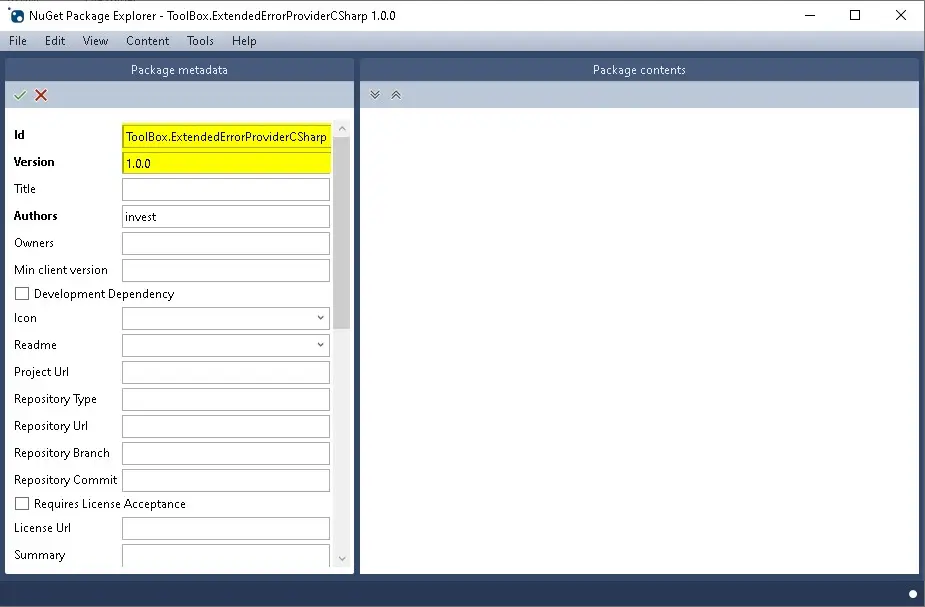
You can modify the Metadata as needed, with the main information including:
- General information such as Package name / Version / Author / License
- Signing information
- Including Dependency configuration - specifying what requirements are needed
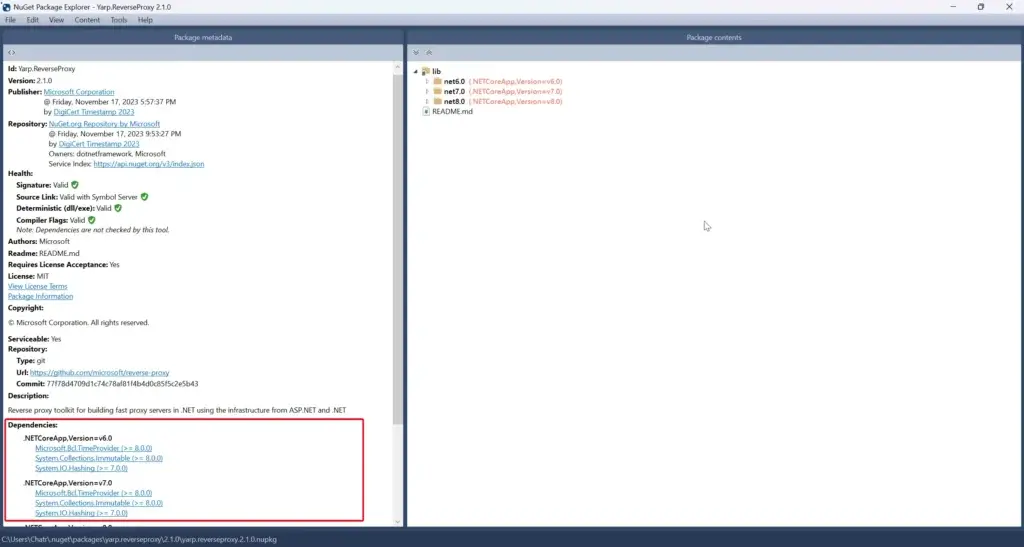
This is an example of the Metadata for the YARP NuGet Package. For the information in this section, I won't be able to edit it - only view it. The owner has signed the package, so we would need the Key/Certificate to be able to modify it. But if you look at the data, you can see that the creator has separated NuGet/Lib for .NET 6, 7, and 8.
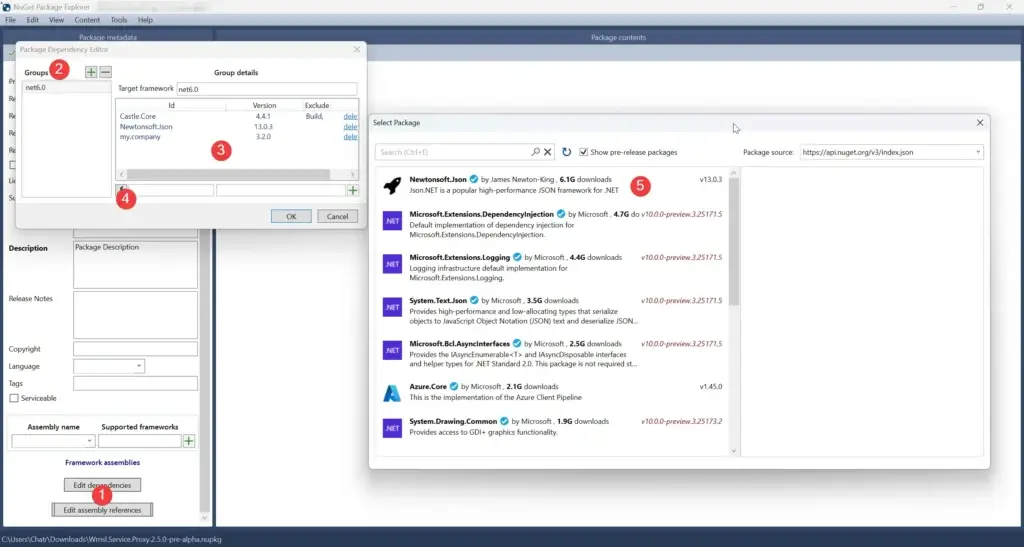
Back to our case - if you want to Edit Metadata to add Dependencies / Assembly References, you can scroll down and click as shown in the image. The example will show how to add NuGet Dependencies. You can pull from package sources like nuget.org or local repositories like Nexus. If you're more hardcore, you can just type it in directly - the tool provides the field for that ^__^
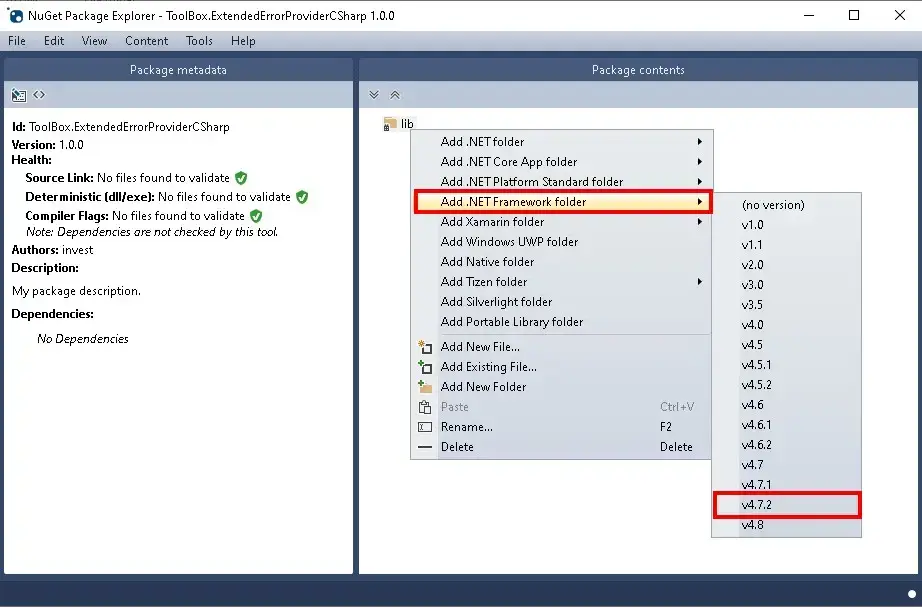
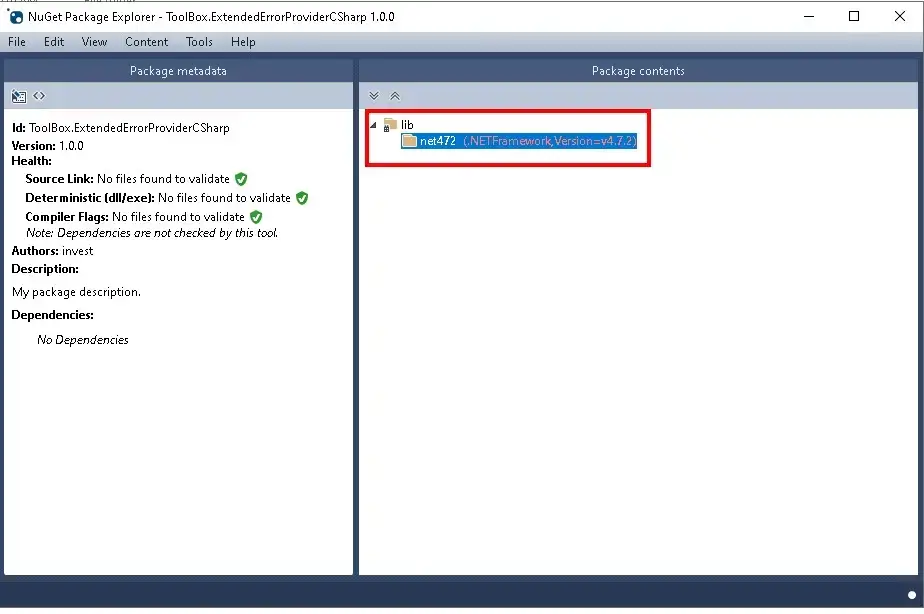
After editing the Metadata to your satisfaction, let's Add the Dll. Mine will be a .NET Framework 4.7 Lib that would normally be referenced as a Dll. This time, we're going to convert it into a NuGet Package.
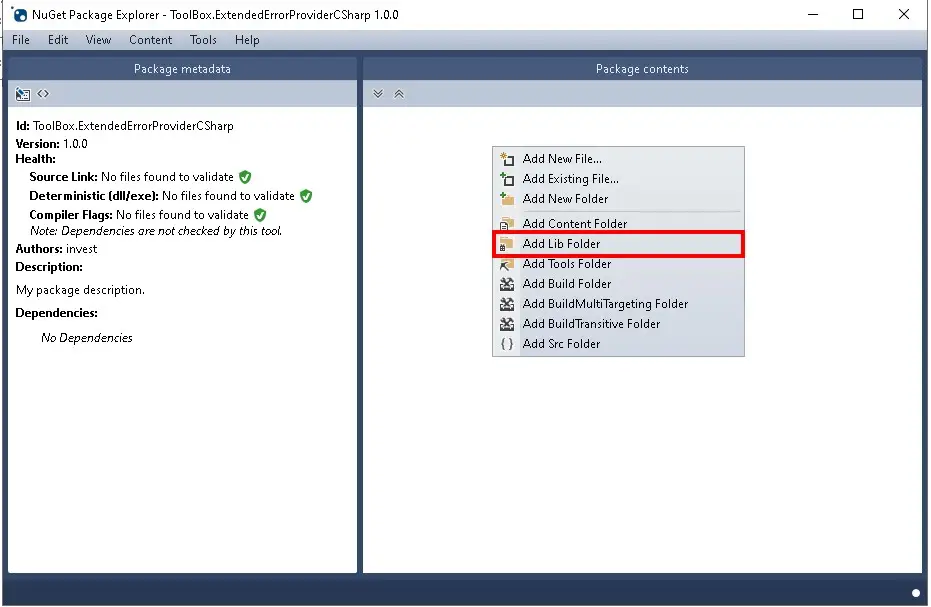
The result will be approximately like this.
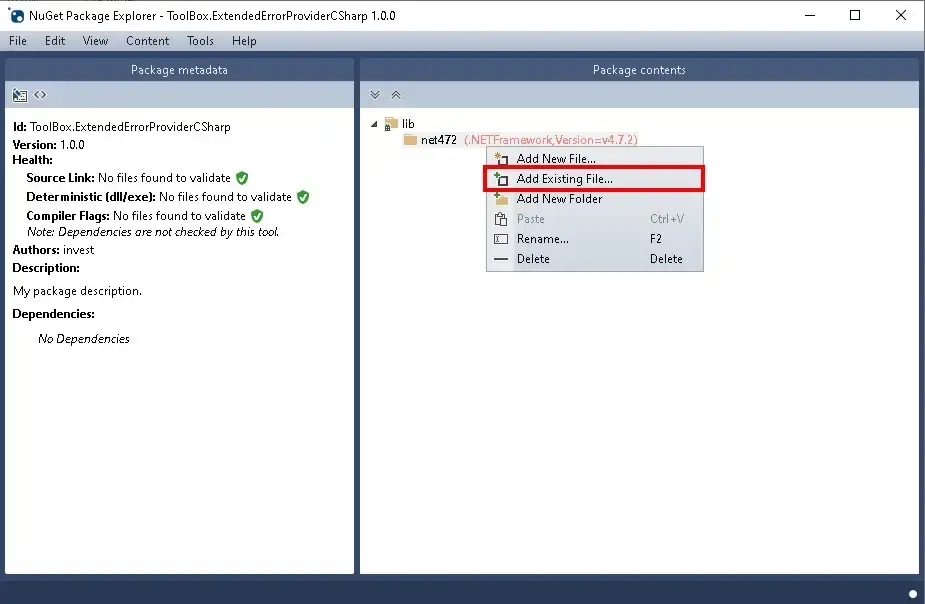
Then add the Lib dll file. Right-click and select "Add Existing File".
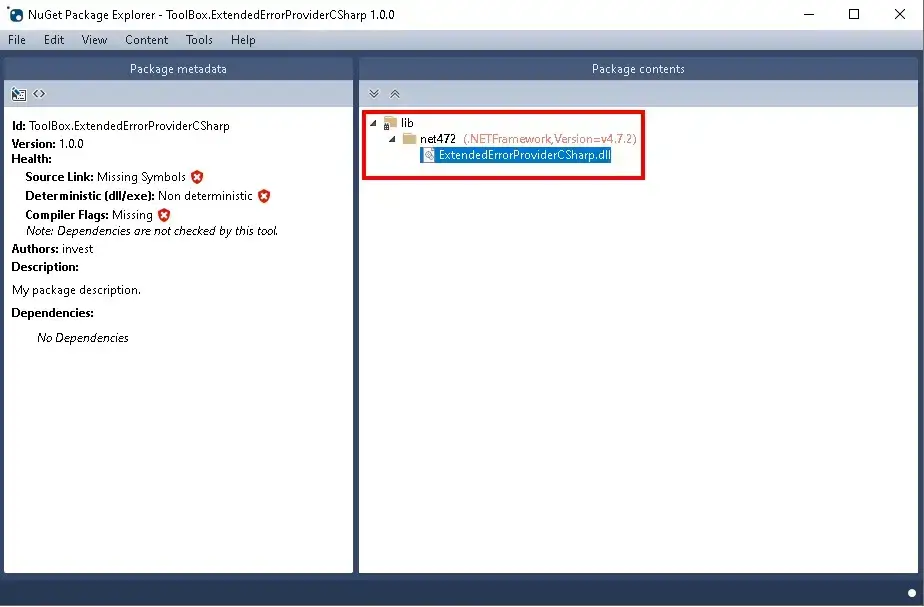
Select the DLL file you want, then click OK. You'll get a result like this.
Save & Pack
Save the data by selecting menu File > Save Metadata As. We'll get a nuspec file.
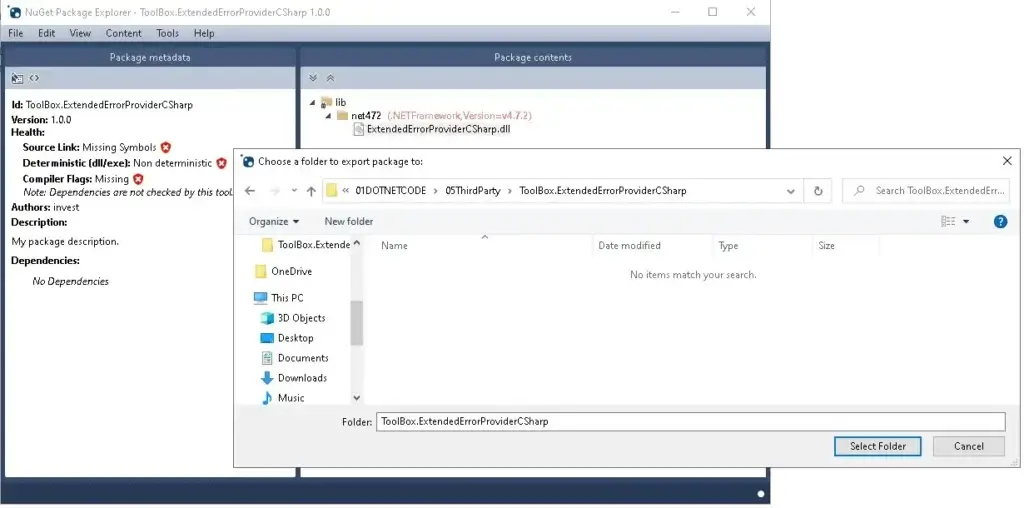
After preparing the NuGet data completely, the next step is to Pack it into a NuGet Package. Select menu File > Export or File > Save As, then follow the steps accordingly.
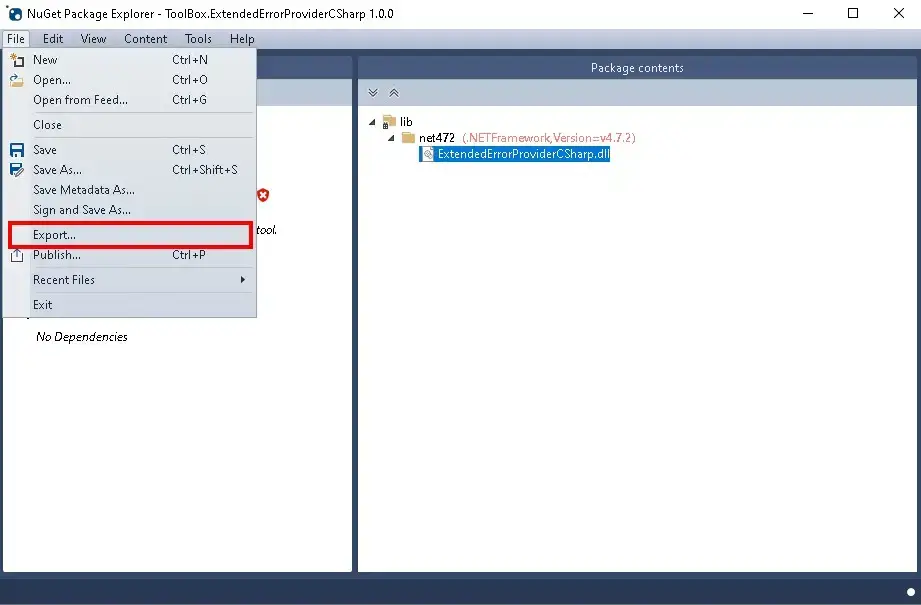
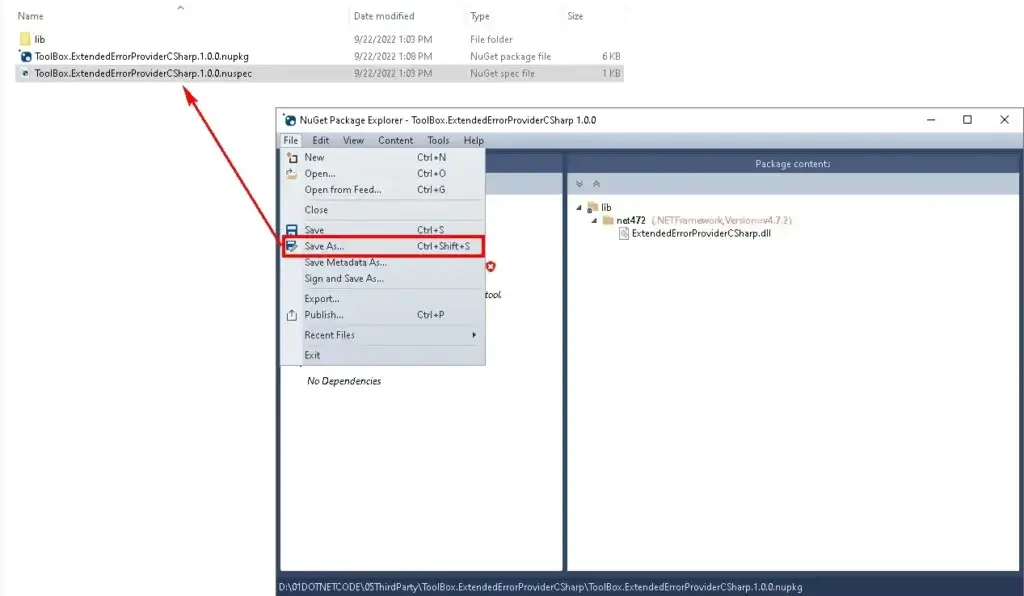
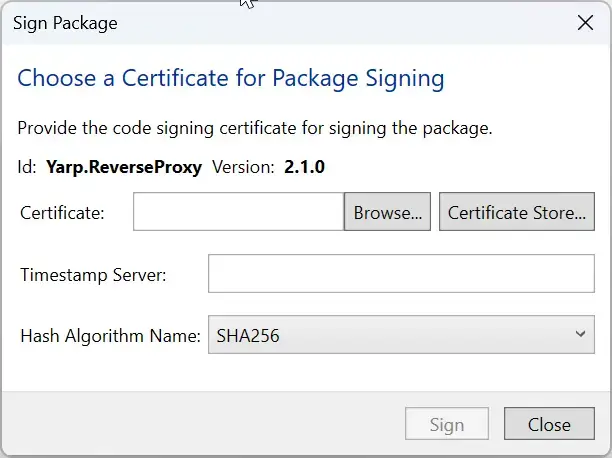
In case you want to sign the NuGet package, select File > Sign and Save As instead.
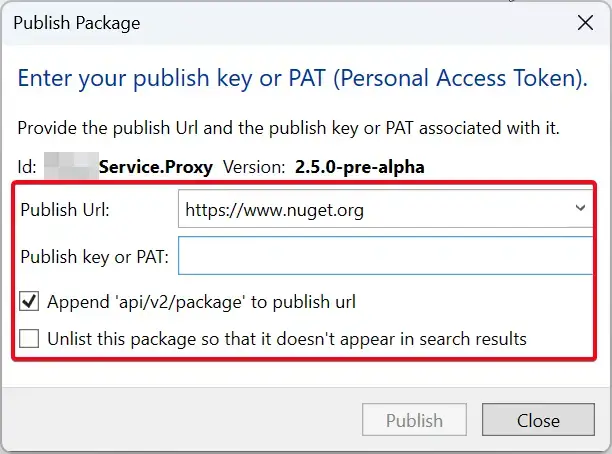
After getting the NuGet Package + nuspec, we can upload it to a repository like nuget.org or Nexus by going to menu File > Publish to upload the .nupkg file. You need to specify the repo URL / PAT.
That's it! Finally got around to writing this after capturing screenshots for so long, haha 5555. Oh, and if you use dotnet pack in CI/CD, you don't need to do this manually. But the NuGet Explorer tool isn't useless - it can still be used to inspect and explore the structure of NuGet Packages that we're interested in.
Discover more from naiwaen@DebuggingSoft
Subscribe to get the latest posts sent to your email.