One way to reduce TTFB in PageSpeed Insights is to use a caching strategy for static assets like images, CSS, and JavaScript files on your own server, CDN, or cloud service such as Cloudflare Caching Server. Here’s how to do it.
Table of Contents
Prerequisite
- Create a Cloudflare Account
- Add the Domain to the Cloudflare Dashboard
- Create Cloudflare API Token (Recommend this way) or Use Global API Access
📌Add the Domain to the Cloudflare Dashboard
You can follow my blog Move Your Domain to the Cloudflare Dashboard (in Thai)
📌Create Cloudflare API Token
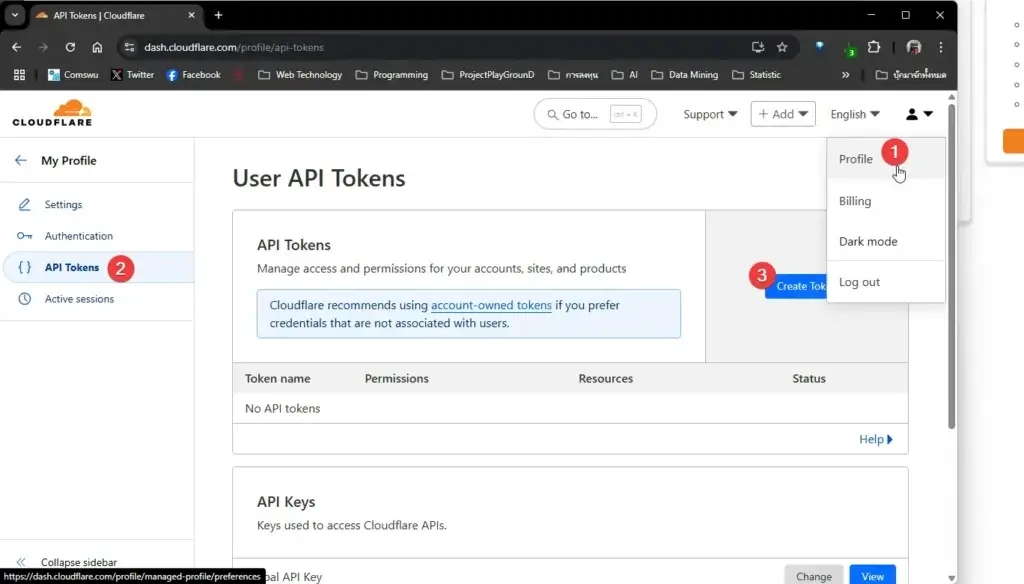
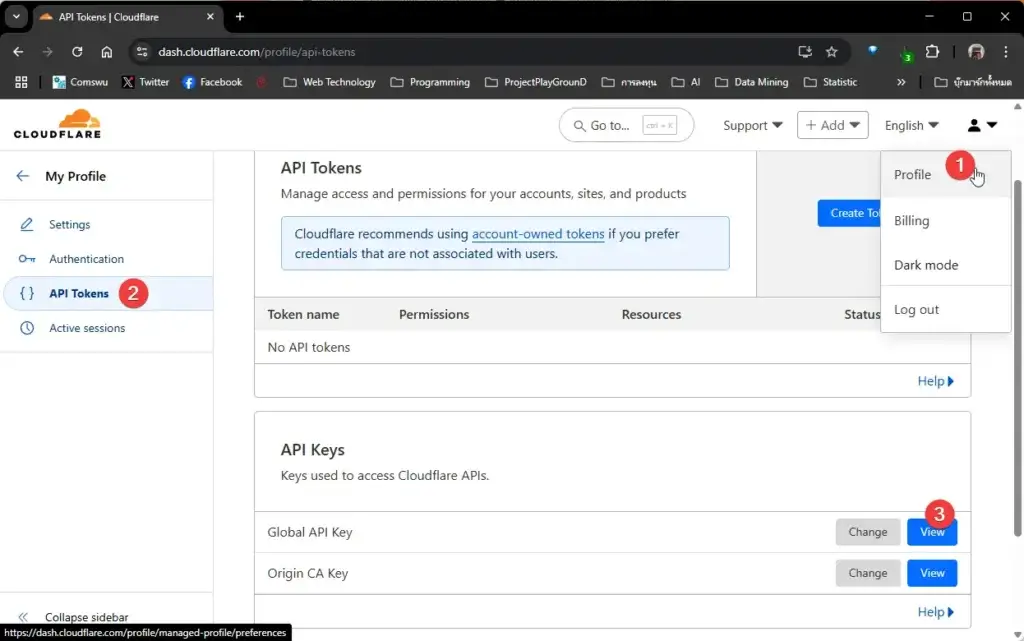
- Log into your Cloudflare dashboard
- Navigate to My Profile > API Tokens
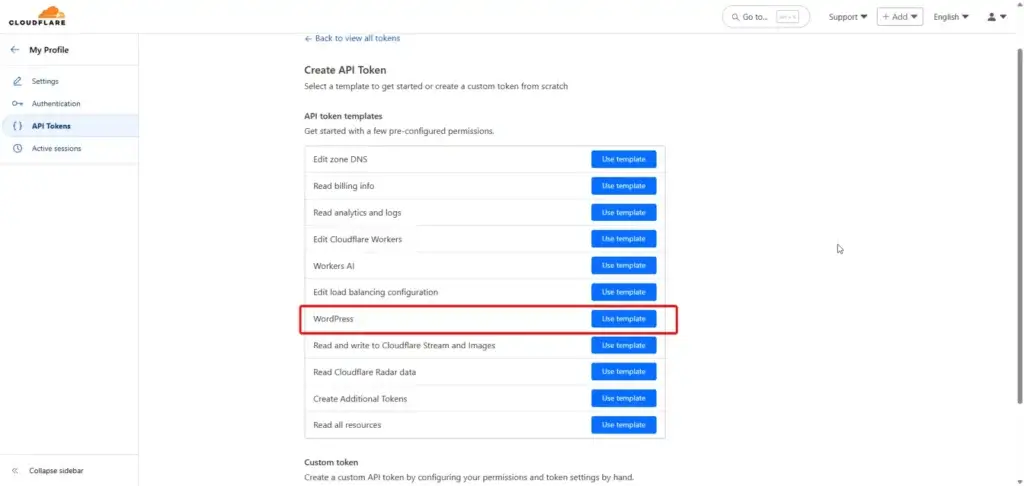
- Click Create Token
- Select the WordPress template
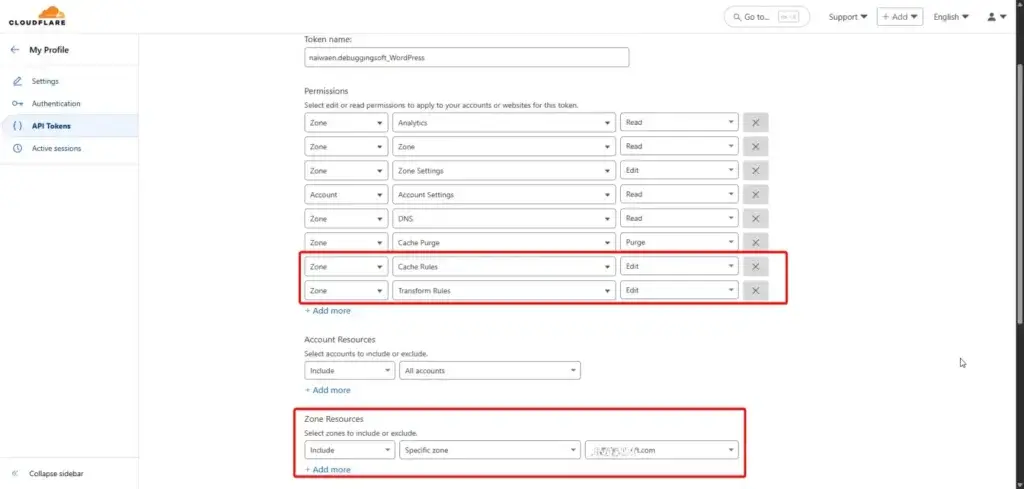
- Add 2 Rules for WordPress Super Page Cache for Manage Cache Rule
- Zone/Cache Rules: Edit
- Zone/Transform Rules: Edit - Limit your zone/account (Least Privilege)
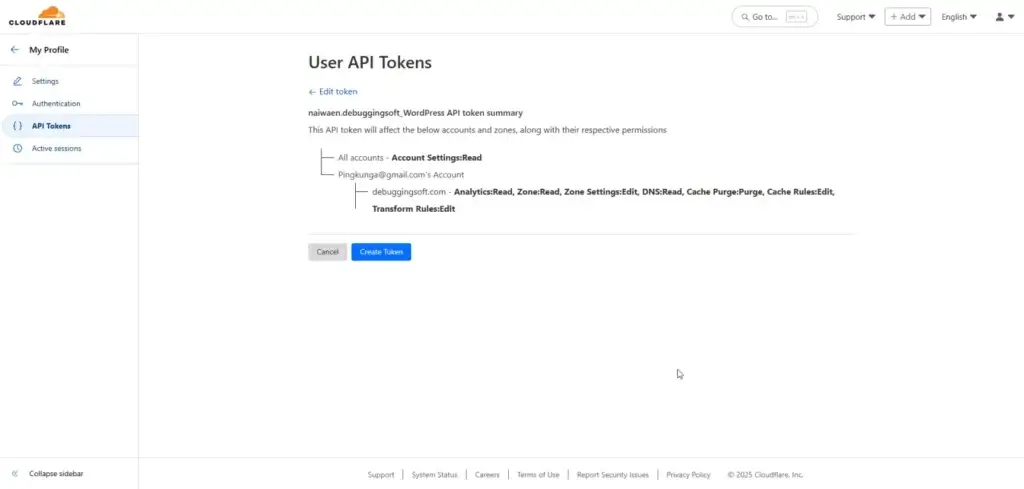
- Click Continue to the summary
- Review permissions and click Create Token
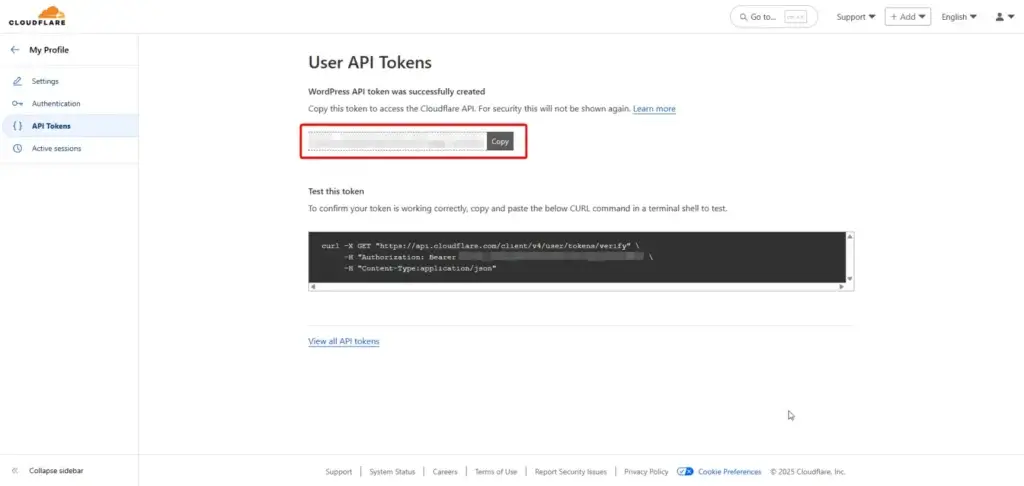
- Copy the generated token in a save place

Another Solution: Global API Access, this way give more access to you Cloudflare account (I don't recommend this option)
WordPress - Super Page Cache Plugin
📌Install this plugin
Install Super Page Cache for Cloudflare WordPress > Dashboard > Plugins > Install Plugin Search "Super Page Cache" and Install, or you can download the zip file and upload.
📌Setup Plugin
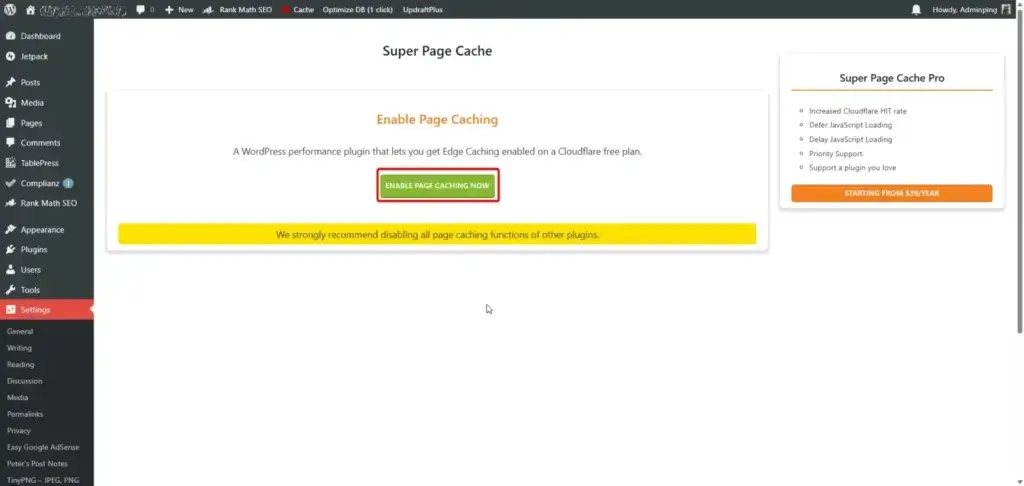
Go to the configuration screen under “Settings -> Super Page Cache for Cloudflare”. There are 2 cache type
- Disk Cache - Enable
- Cloudflare Cache - Enable
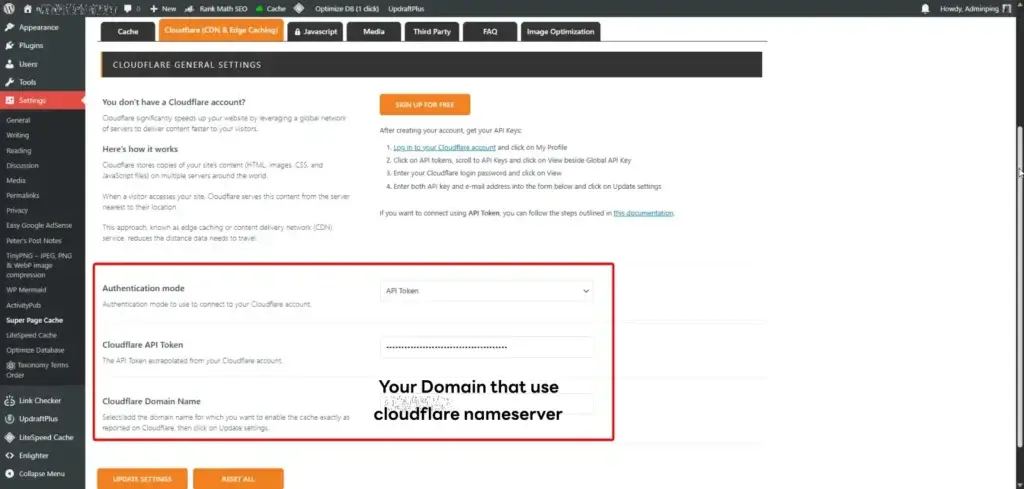
- Authentication Method: API Token
- Cloudflare API Token: "YOUR_API_TOKEN_FROM_PREVIOUS_STEP"
- Cloudflare Domain Name: Enter the domain name that uses cloudflare Nameserver such as "sampleweb.com"
- save and wait for popup setting updated successfully
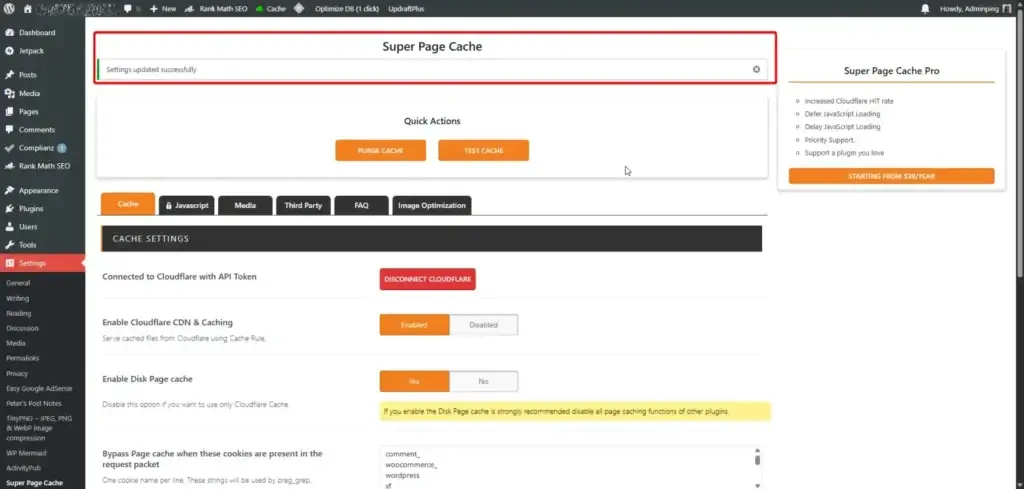
📌Test Plugin
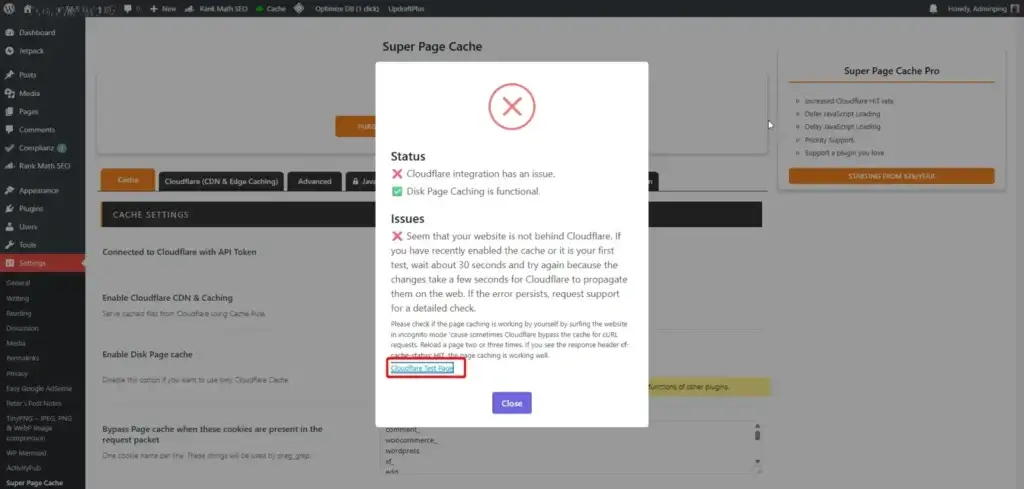
Click Test Cache for Test Disk Cache and Cloudflare Cache.
- If you found any error, try to click Cloudflare Test Page - if you see
- cf-cache-status : should be HIT (Already served by Cloudflare)
- cf-ray
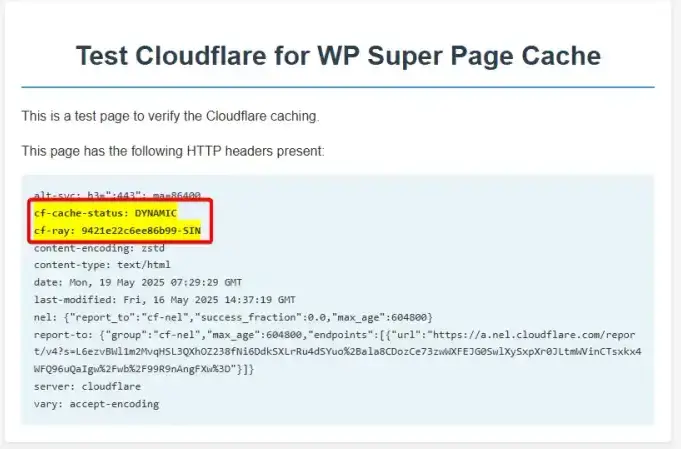
- If Success
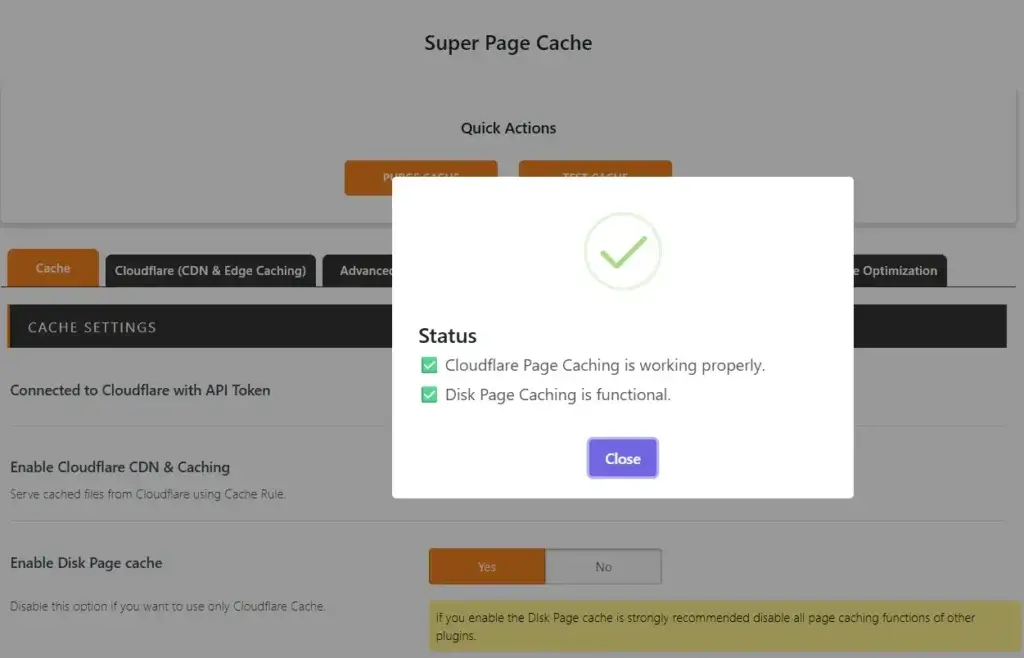
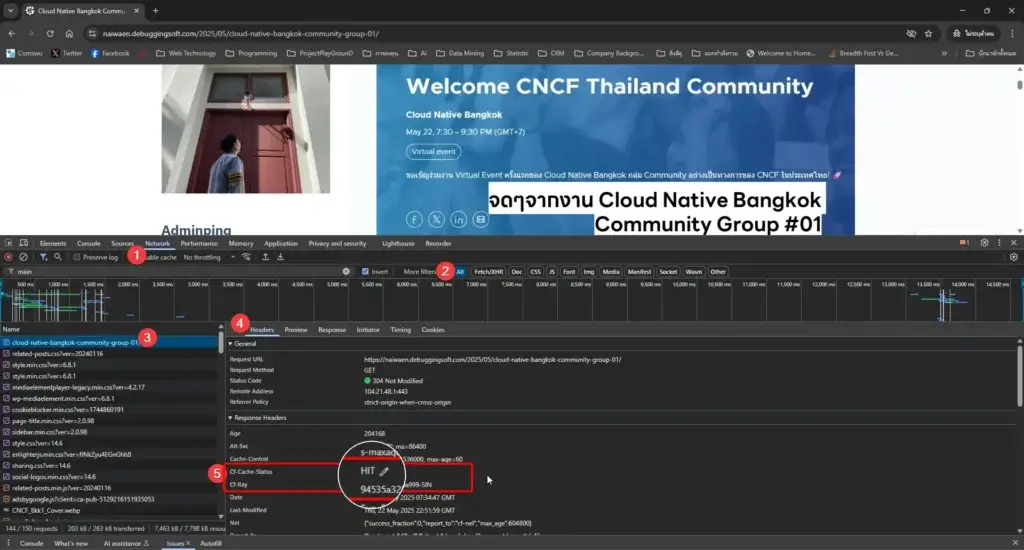
Test that Cloudflare WordPress Page Cache is Working
On Web Browser Developer Tools (Ctrl+Shift+I) > Network > Select Some Record > See Header cf-cache-status HIT (Already served by Cloudflare) / cf-ray
Accessing Non-Cached Versions
If you want to view the non-cached version of your page. To do this, append the query string “?swcfpc=1” to your URL
https://www.mysampleblog.com
https://www.mysampleblog.com?swcfpc=1   # ByPass Super Page Cache
More Improvement
This solution isn't free - it's mostly a subscription and comes with fees.
- Update Web Host Spec - I think, move my blog to the cloud when the cost is OK for me.
- Use Cloudflare Workers - for control + updating WordPress Caching at the Cloudflare edge server
- Use Cloudflare Cache Reserve - Store Cache in R2 Storage
- Use Cloudflare WordPress Plugin (Free) + Use “APO” for WordPress Caching (Paid)
- LiteSpeed + QUIC.cloud
Reference
- https://wordpress.org/plugins/wp-cloudflare-page-cache/
- https://docs.themeisle.com/article/2077-super-page-cache-cloudflare-permissions
Discover more from naiwaen@DebuggingSoft
Subscribe to get the latest posts sent to your email.