A way to Install Setup Portainer on Synology NAS
- Solution1: Enable Terminal and SSH to install, Portainer is just a Linux (you can follow my step in Thai)
- Solution2: Install via Synology Container Manager & Task Scheduler
- Solution3: Install via Synology Container Manager > Project
In this blog, I show a step of solution 2/3
Install Portainer via Synology Container Manager & Task Scheduler
Prerequisite: Synology Container Manager
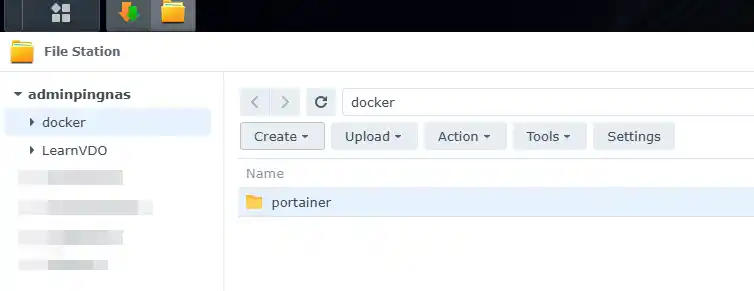
- Open File Station
- open docker folder
- create a new folder name portainer (lower case)
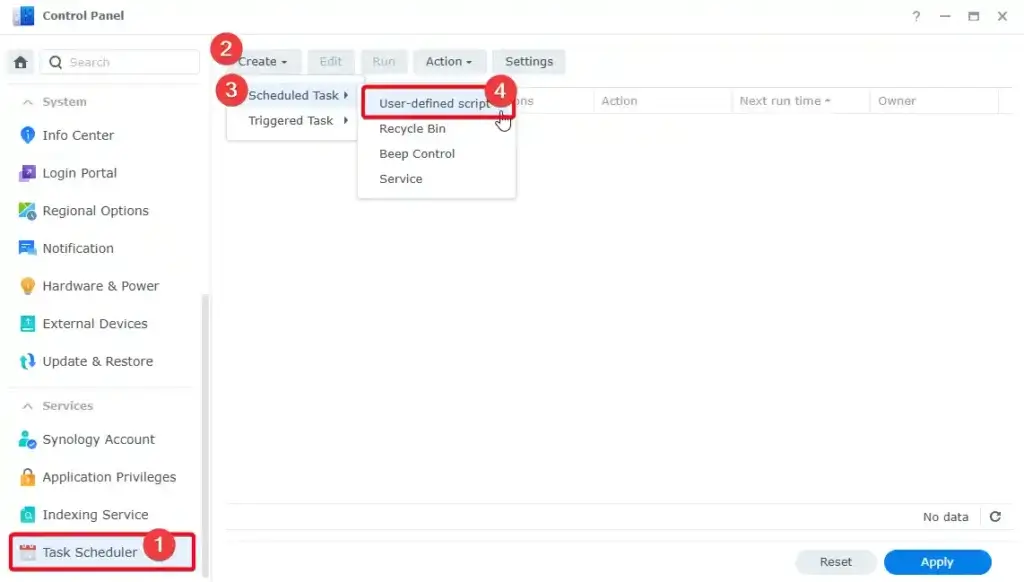
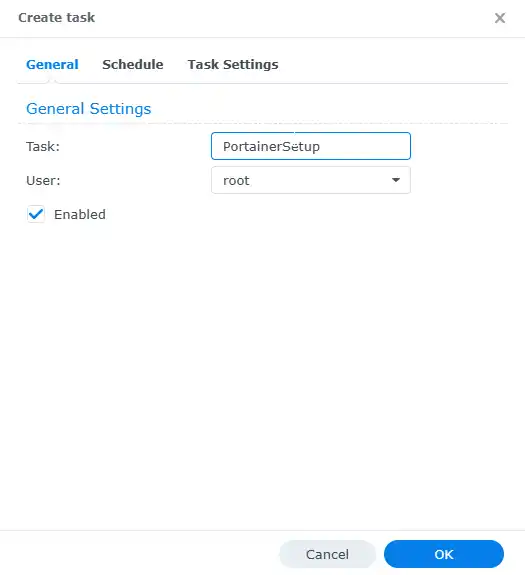
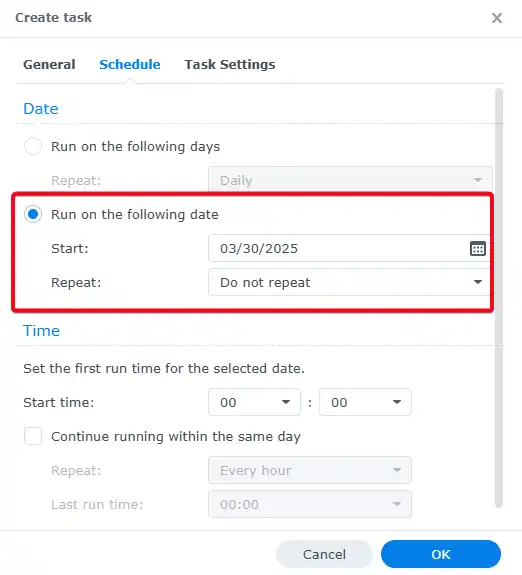
- Open Control Panel > Task Scheduler > Create > Scheduled Task > User-defined script
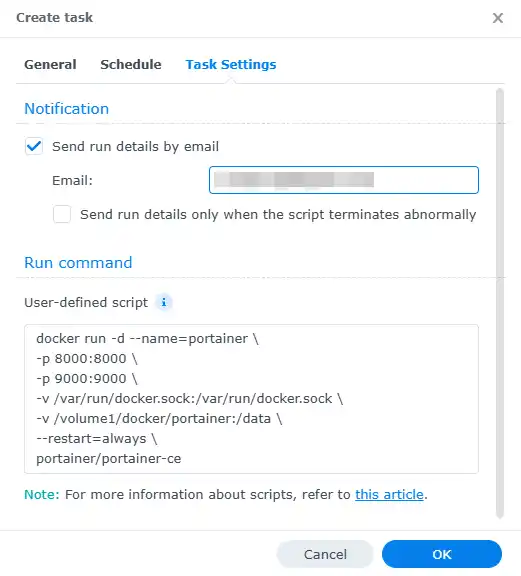
docker run -d --name=portainer \
-p 8000:8000 \
-p 9000:9000 \
-v /var/run/docker.sock:/var/run/docker.sock \
-v /volume1/docker/portainer:/data \
--restart=always \
portainer/portainer-ce
- Go to
http://[YOUR_SYNOLOGY_IP:9000/and Enjoy Setup - you can follow the installation & basic setup steps in my blog (thai)
Install Portainer via Synology Container Manager > Project
Prerequisite: Synology Container Manager
- Open File Station
- open docker folder
- create a new folder name portainer (lower case)
- inside portainer folder create folder > portainer_data - Go to Container Manager > Project
- Select portainer
- Create new docker compose
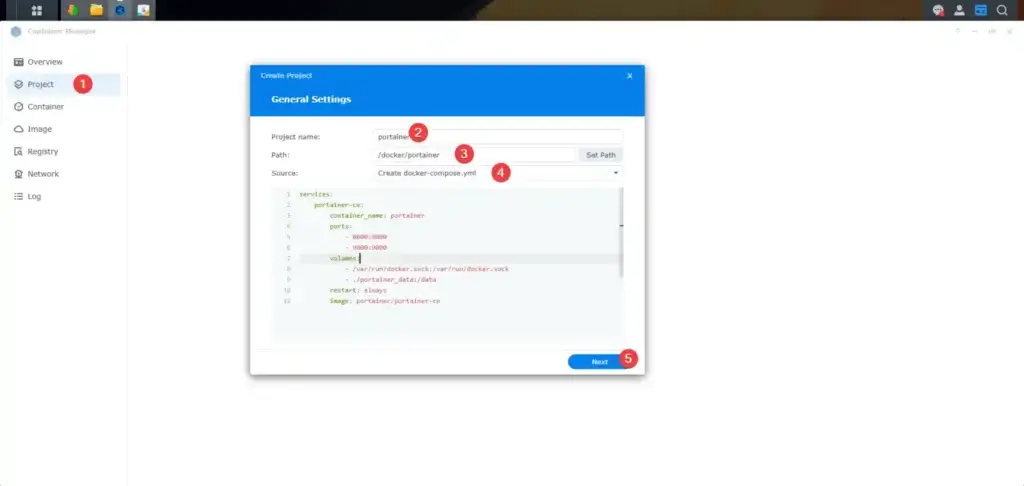
services:
    portainer-ce:
        container_name: portainer
        ports:
            - 8000:8000
            - 9000:9000
        volumes:
            - /var/run/docker.sock:/var/run/docker.sock
            - ./portainer_data:/data
        restart: always
        image: portainer/portainer-ce
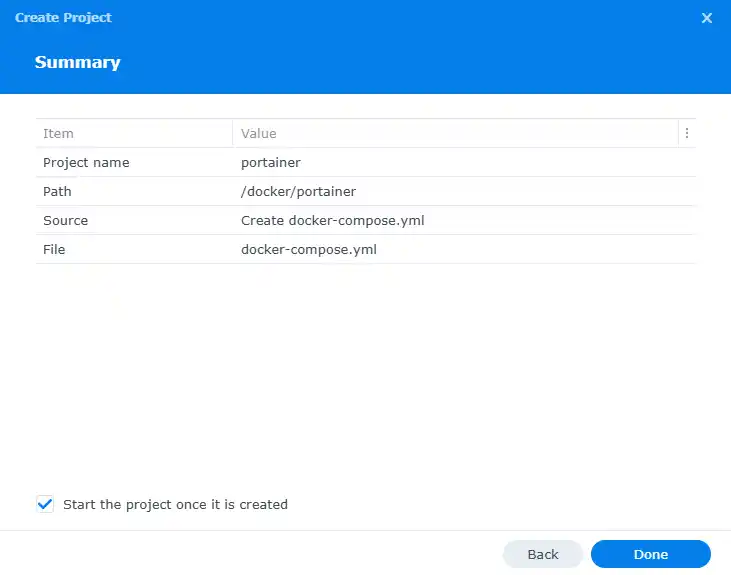
- Click Done - wait for pull & deploy image
- Go to
http://[YOUR_SYNOLOGY_IP:9000/and Enjoy Setup
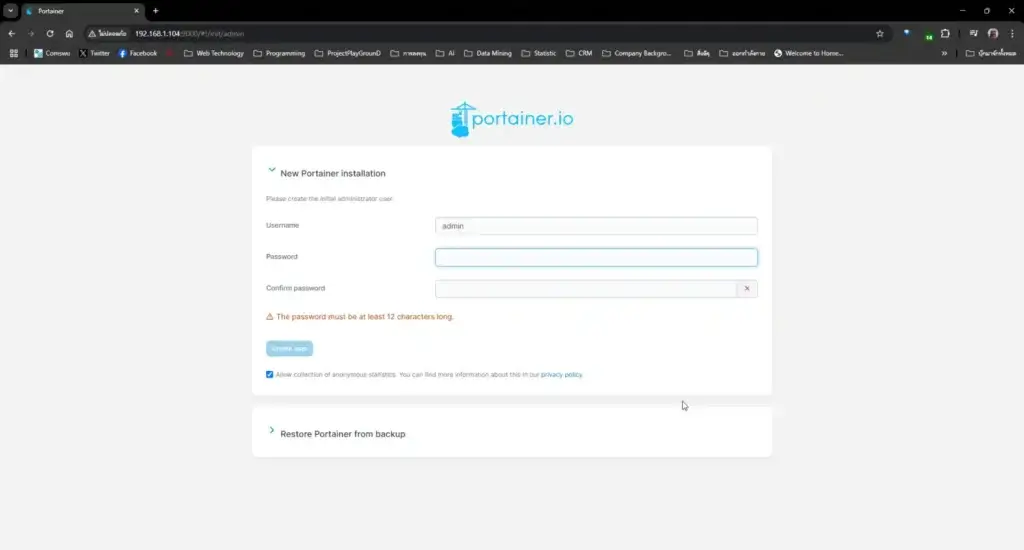
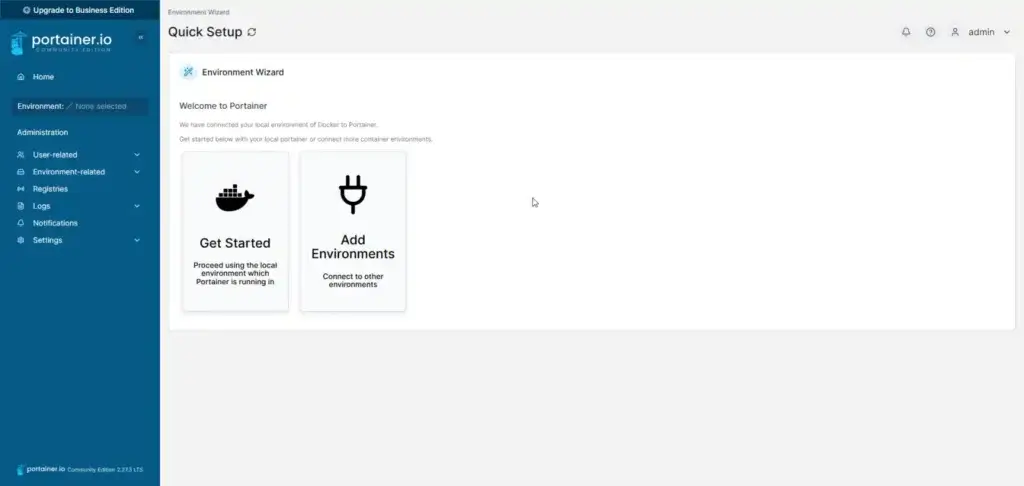
- you can follow the installation & basic setup steps in my blog (thai)
Discover more from naiwaen@DebuggingSoft
Subscribe to get the latest posts sent to your email.