หลังจาก Blog ตอนที่แล้วได้เกริ่นนำ และเตรียมการลง IBM Data Studio แล้วตอนนี้ผมมาแนะนำการลง IBM Data Studio แบบ Step by step กันครับ
STEP3 Install IBM Data Studio
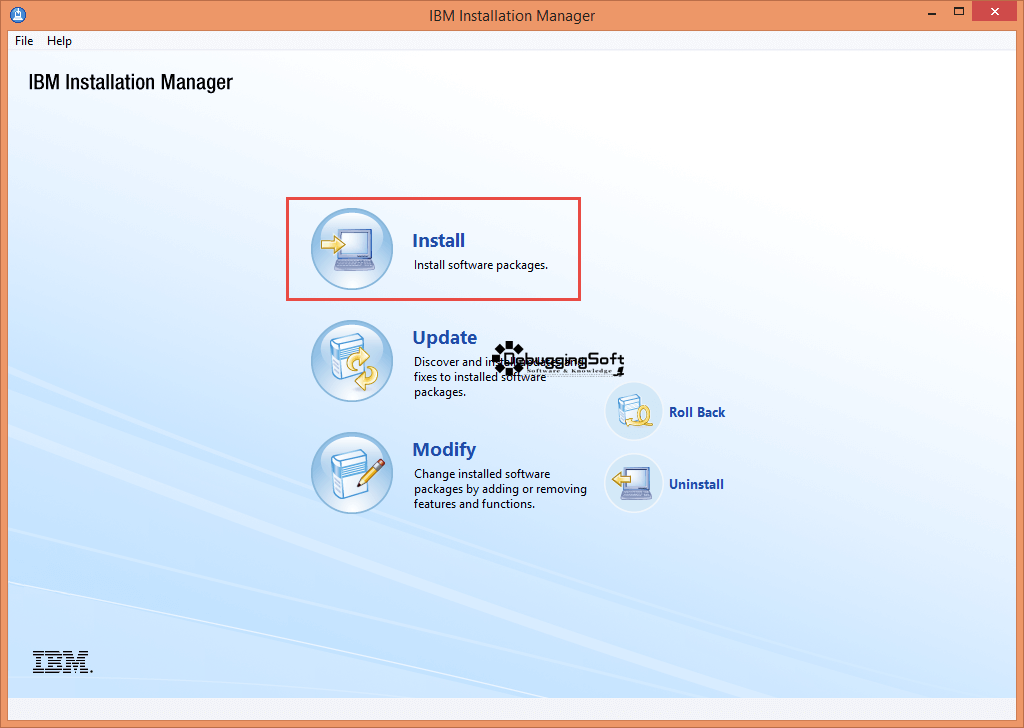
- เปิดตัว IBM Installation Manager
- ใช้ตัว Package แบบ Install Package แบบ Full แล้วระบบดึง Repository มาให้โดยอัตโนมัติ แต่ถ้าไม่มีก็สามารถกำหนดได้จากเมนู File >> Preference จากนั้นไป Add File Repository ได้ครับ (โดยไฟล์ที่เป็น Repository ได้นั้นต้องเป็นไฟล์ repository.config, diskTag.inf หรือเป็นไฟล์ .jar หรือ .zip ก็ได้ครับ ต้องสอบถามคนที่ Provide มาให้นะครับ มีการการตั้งค่าอย่างไรนะครับ)
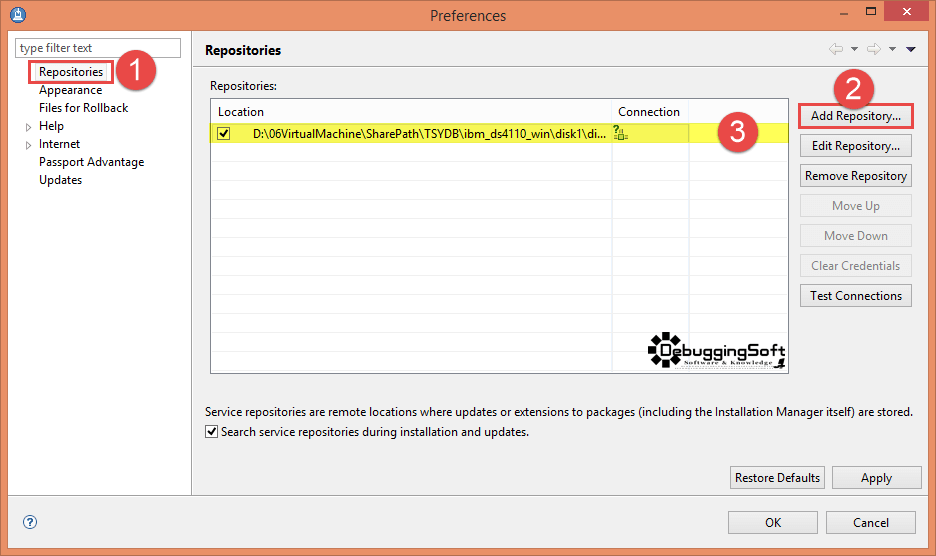
- NOTE: สำหรับคนที่ไป Download IBM Data Studio มาแยกเอง หรือระบบไม่ Default ให้ สามารถไปตั้งค่า โดยมีรูปแบบ
รูปแบบ Path ที่วางตัว Setup..\ibm_ds4110_win\disk1\diskTag.inf
ตัวอย่างเช่น D:\IBMData\ibm_ds4110_win\disk1\diskTag.inf ครับ - กดปุ่ม Install ดังรูป
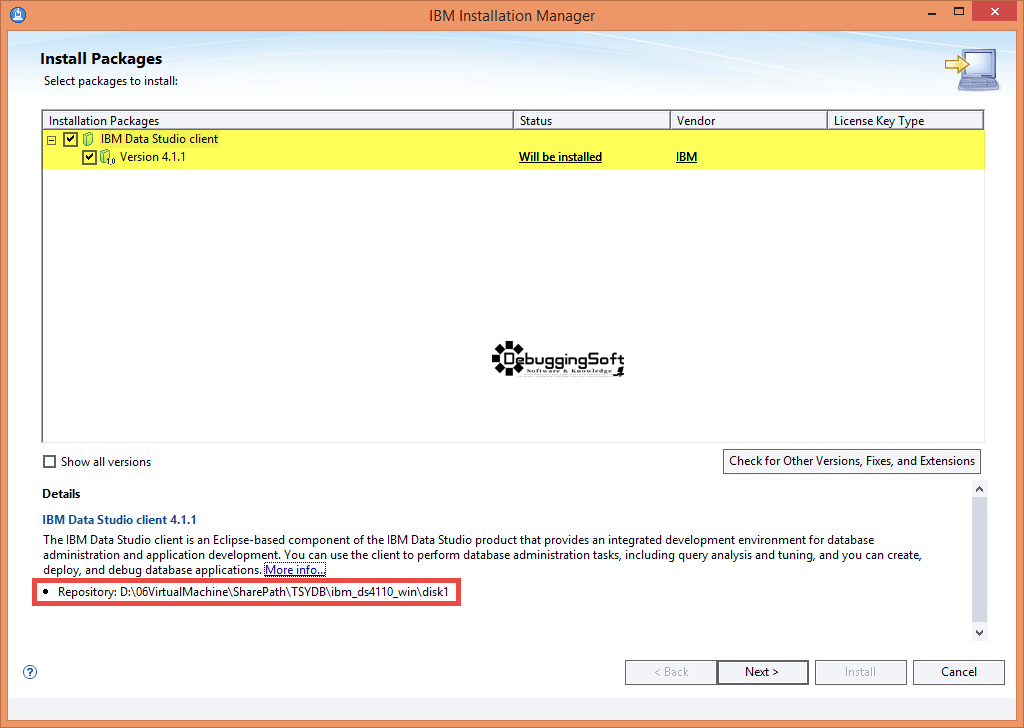
- ระบบดึงข้อมูลจาก Repository แสดงรายการที่พร้อม Install คือ IBM Data Studio 4.1.1 ดังรูป
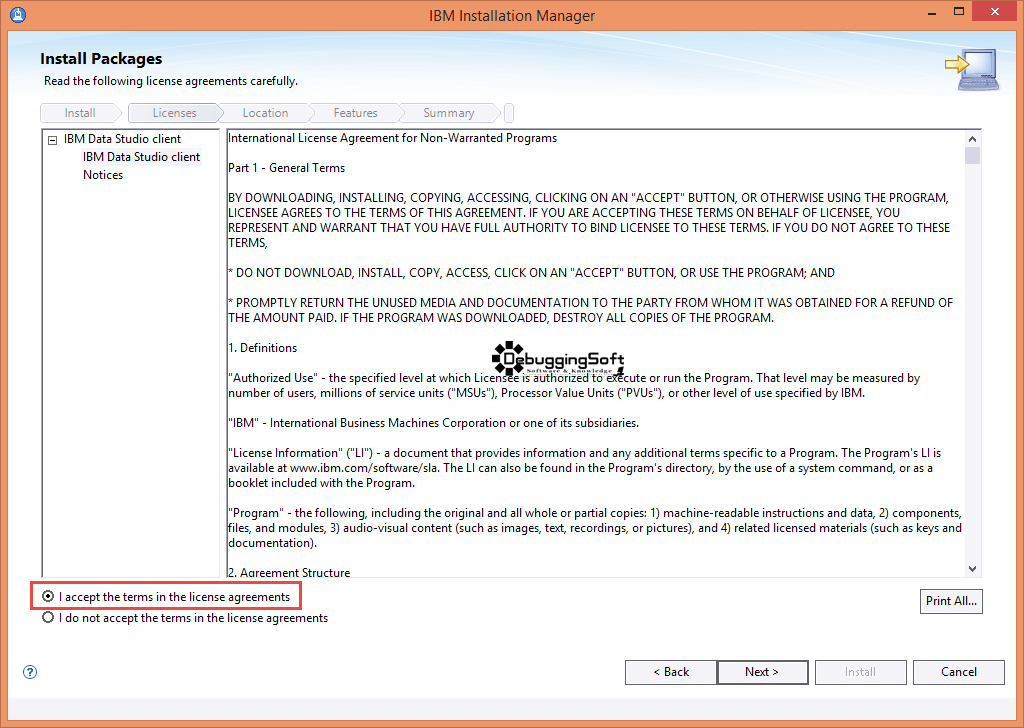
- กด Accept >> Next ดังรูป
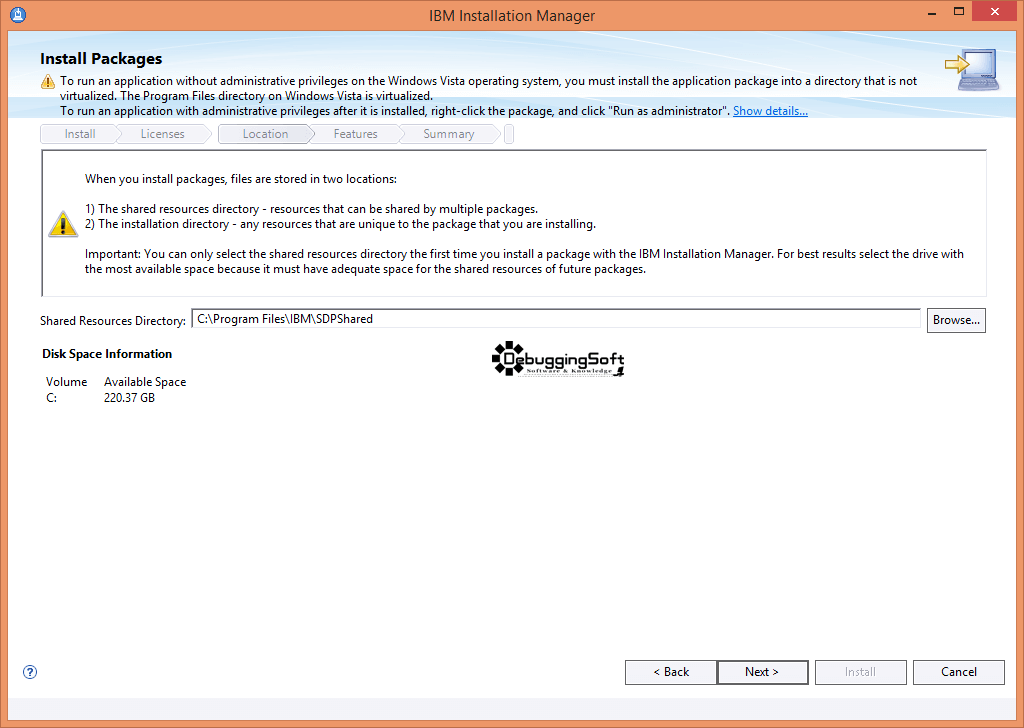
- กำหนด Path ในการติดตั้งโปรแกรม และกด Next ดังรูป
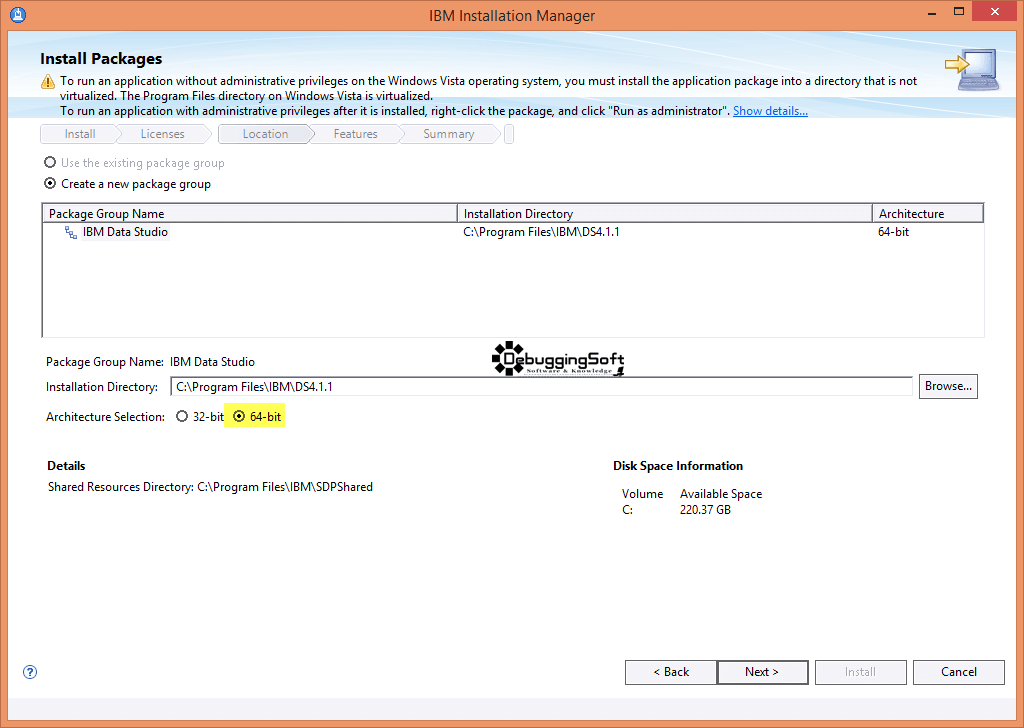
- เลือกรุ่นที่ลง 32 หรือ 64 bit และกด Next ดังรูป
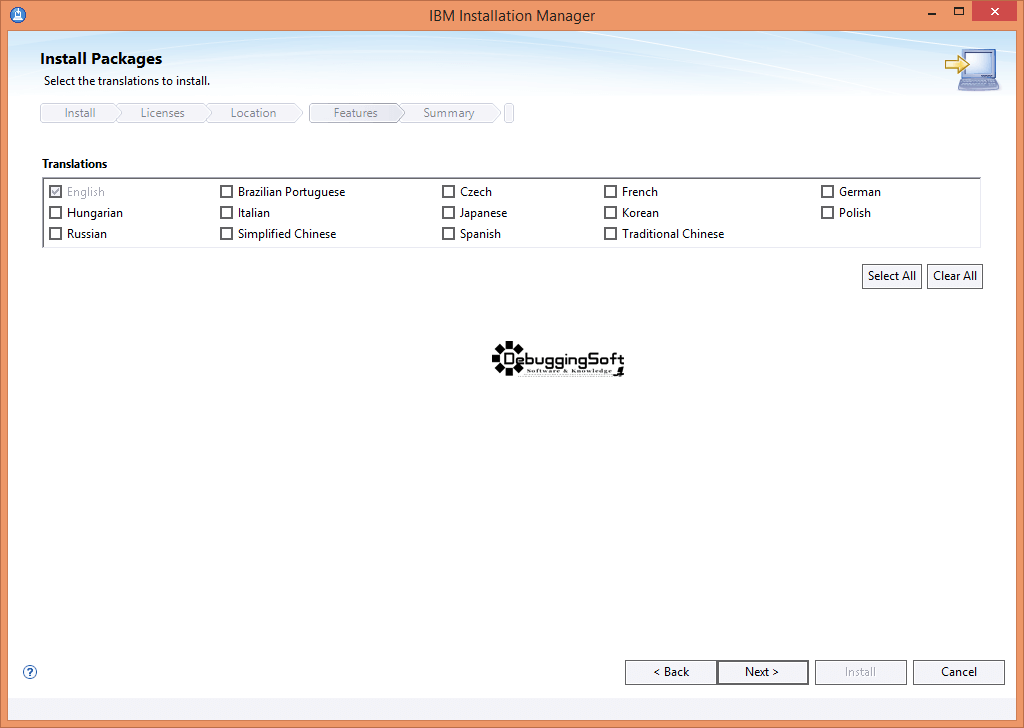
- กำหนดภาษา และกด Next ดังรูป
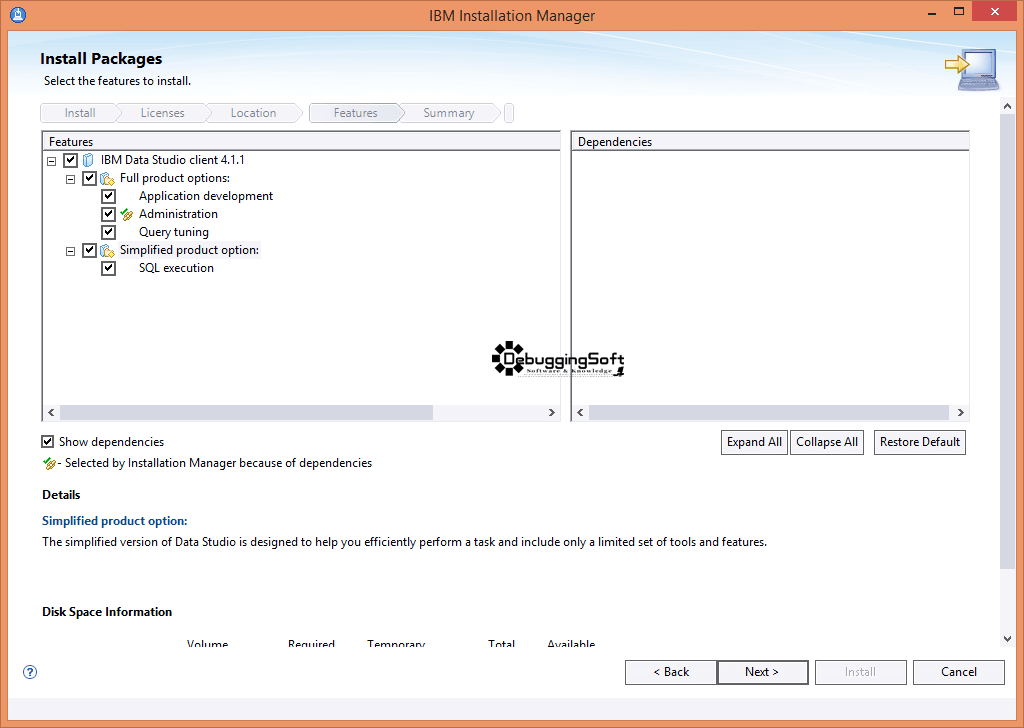
- เลือก Package ที่จะลงตรงนี้ผมเลือกหมดนะครับ และกด Next ดังรูป
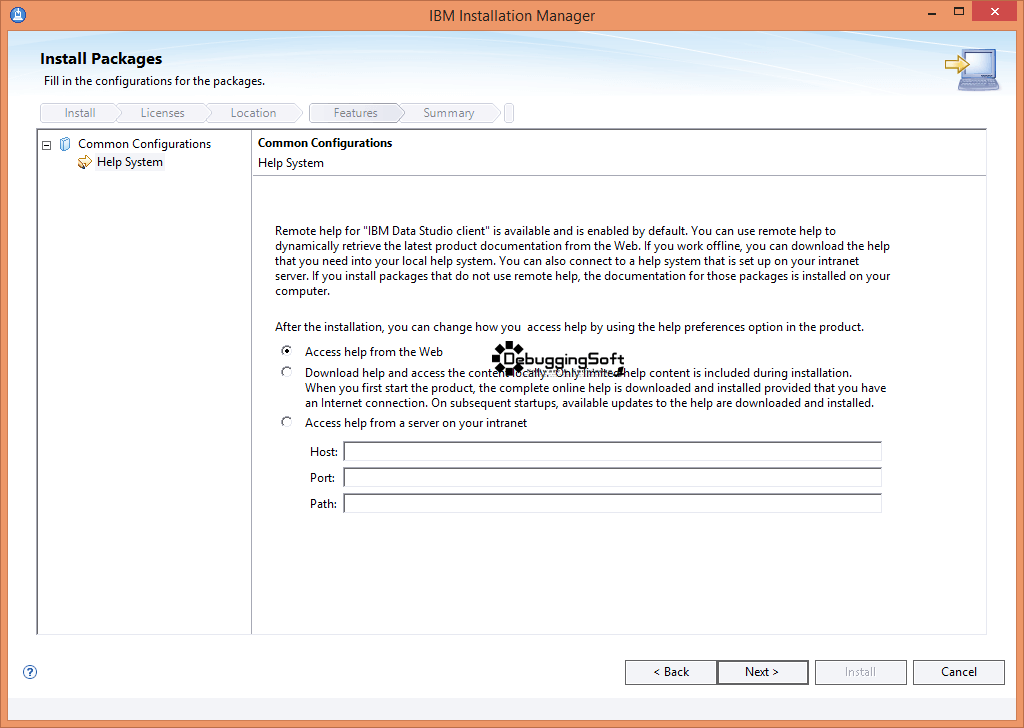
- กำหนด Config เวลาต้องการดู Help และกด Next ดังรูป
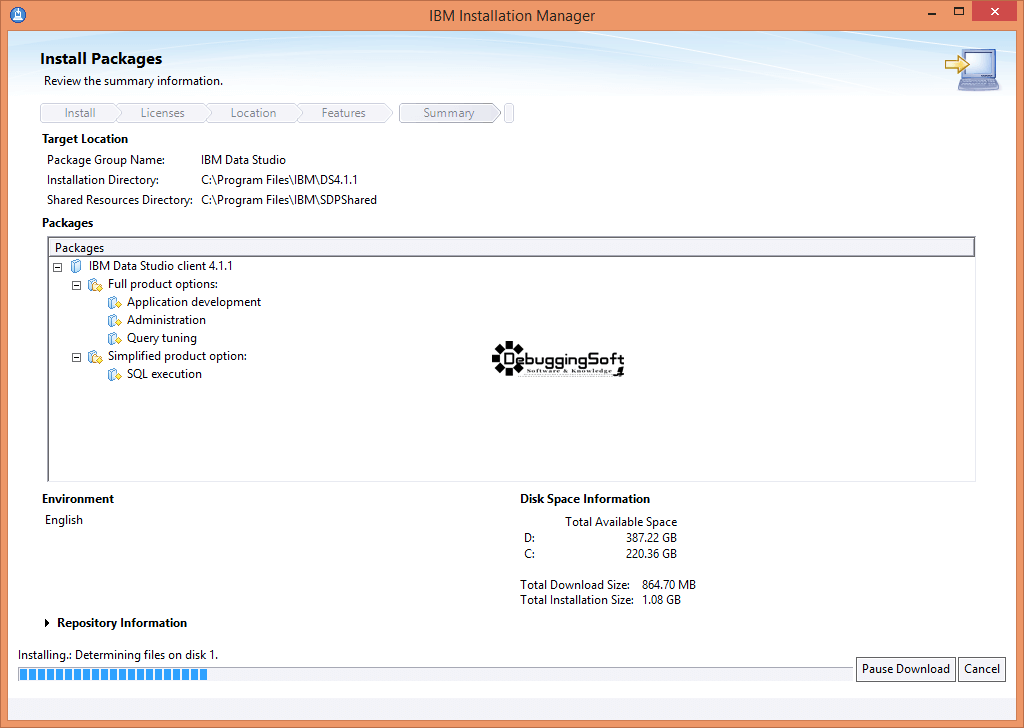
- ตรวจสอบหน้า Summary ถ้าไม่มีอะไรผิดพลาดสามารถกด Install ได้ครับ ดังรูป

- รอระบบ Install Program ดังรูป
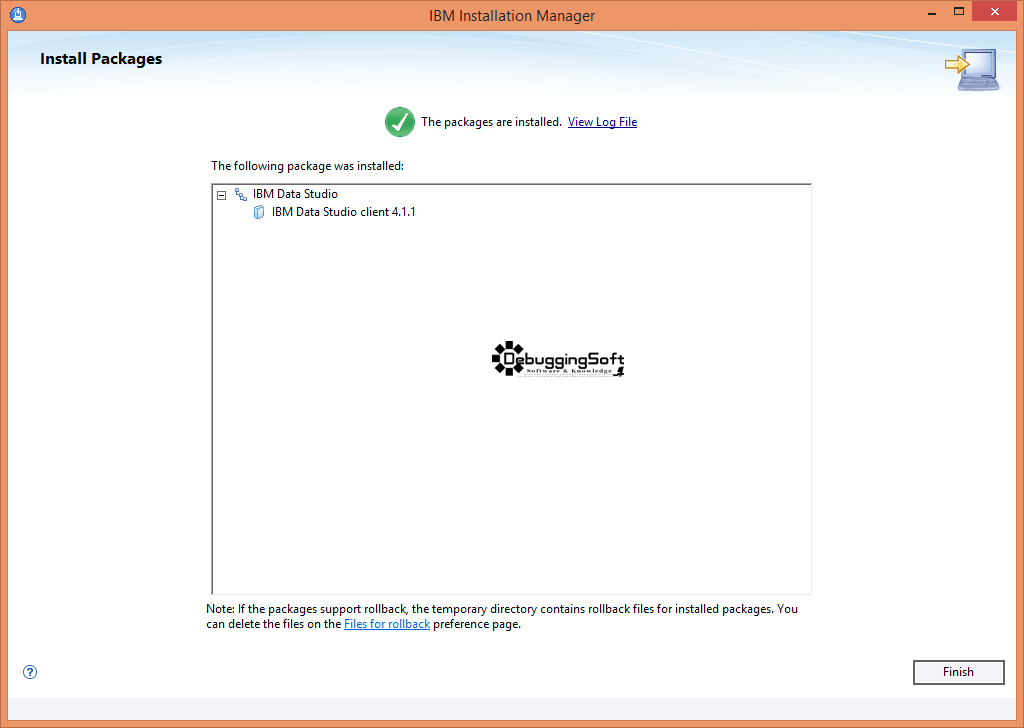
- กด Finish ดังรูป
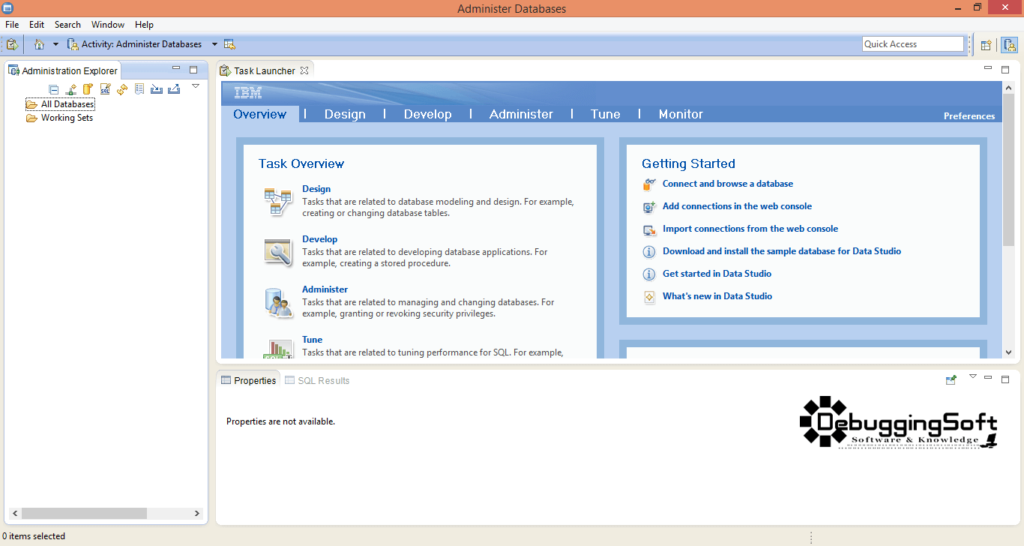
- จากทดสอบเปิดตัวโปรแกรมขึ้นมา ดังรูปครับ
จบไปอีกบทความสำหรับการลง IBM Data Studio ครับ Blog ครั้งหน้าคิดว่า น่าจะเป็น Tip เล็กๆในการใช้ IBM Data Studio ครับ
Discover more from naiwaen@DebuggingSoft
Subscribe to get the latest posts sent to your email.